

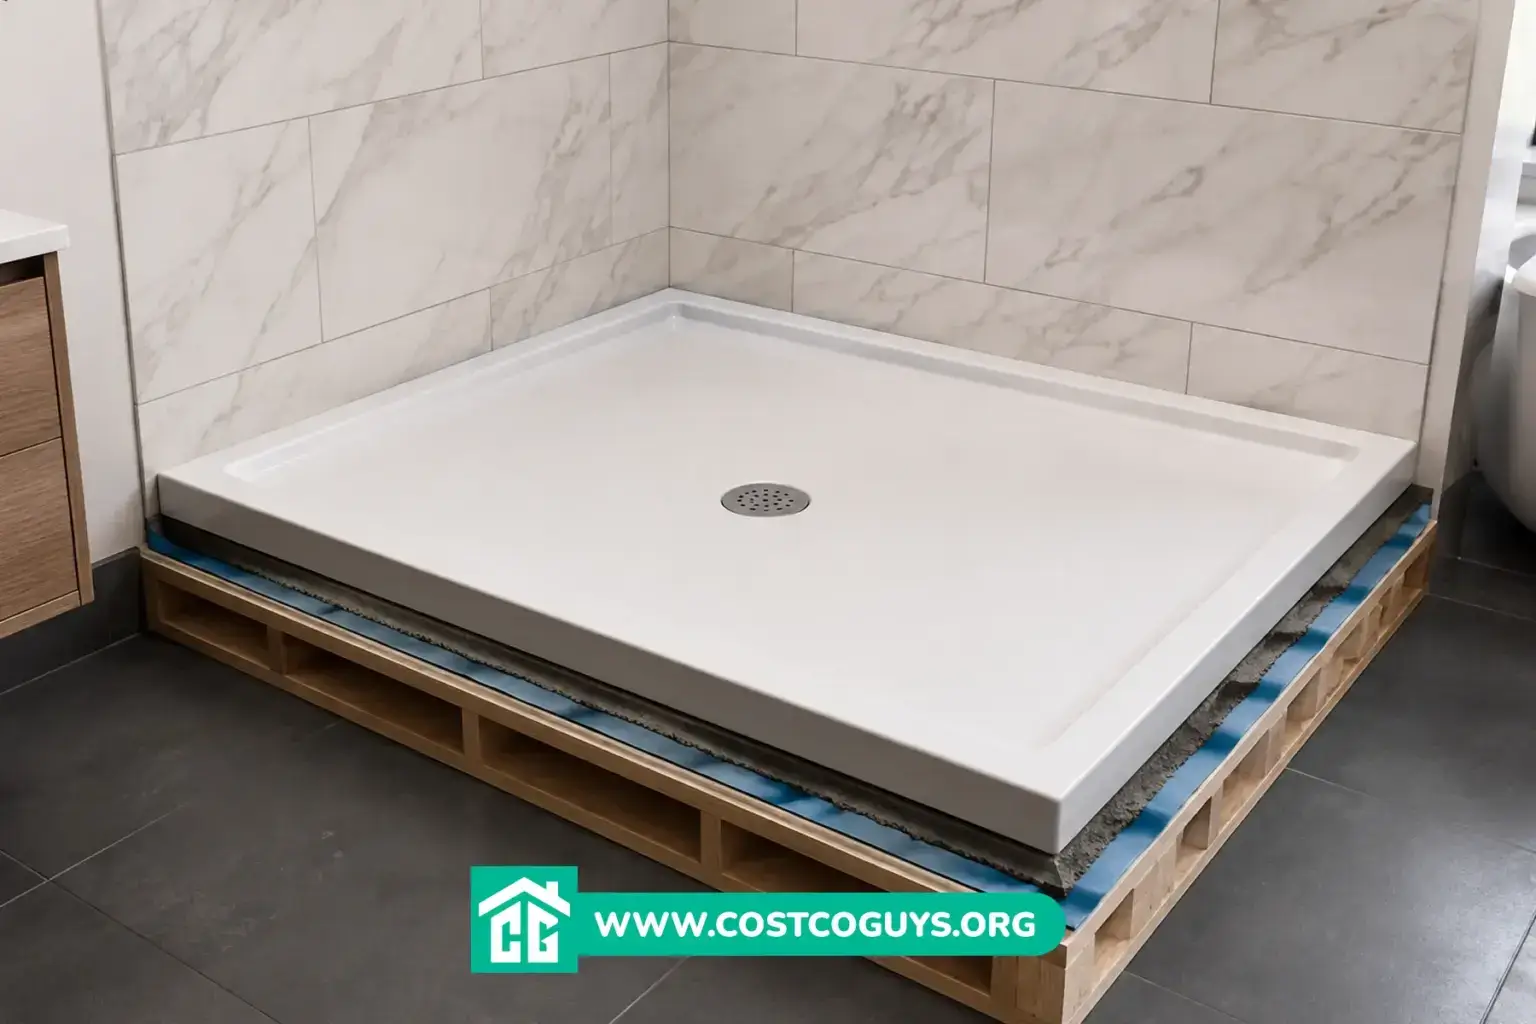

A 36 x 72 shower pan is a one-piece, pre-pitched base for a shower stall measuring 36 inches deep by 72 inches wide. It typically costs between $790 and $1,200, depending on the drain type and grate finish you pick. Most models on the market today ship ready to tile. Tile Redi’s Redi Base and Redi Trench lines include the curb, splash walls, and drain already built in.
- What You Get With a 36 x 72 Shower Pan
- 36 x 72 Shower Pan Cost and Model Pricing
- Redi Base vs Redi Trench Shower Pans
- Drain Location, Grate Style, and Finish Options
- Installing a 36 x 72 Shower Pan
- DIY Installation vs Calling a Plumber
- Common Mistakes That Cause Leaks
- Picking the Right 36 x 72 Shower Pan for Your Bathroom
- 36 x 72 Shower Pan FAQs
What You Get With a 36 x 72 Shower Pan
This size fits a standard alcove shower opening with a little extra width. That makes it a common upgrade when you’re converting a tub space into a walk-in shower. The pan itself comes as one molded piece. There’s no mud bed to mix and no separate waterproofing membrane to install underneath the tile.
Every pan in this category comes pre-pitched. The factory builds the slope toward the drain into the base before it ships. Manufacturers set that slope at roughly a quarter inch per foot. That matches typical plumbing code requirements for drain flow and keeps water from pooling on the shower floor. The pan forms a single sealed unit. No seams sit between the floor and the curb where water could work its way through over time.
36 x 72 Shower Pan Cost and Model Pricing
Pricing on a 36 x 72 shower pan swings mostly on two things. Your first choice is a center drain or a linear trench drain. Your second choice is the grate finish. A basic Redi Base model with a round chrome grate sits at the low end. A Redi Trench model with a brushed nickel or matte black linear grate runs higher.
| Model type | Typical price range | What affects the price |
|---|---|---|
| Redi Base, center or side drain, chrome grate | $790 to $950 | Round grate style, standard PVC drain body |
| Redi Trench, linear drain, brushed nickel or black grate | $930 to $1,050 | Trench-style drain channel, designer grate finish |
| Kit versions with matching wall panels | $1,150 to $1,200+ | Bundled tile-look wall boards added to the pan |
These figures come from current retail listings and reflect the pan alone or as a bundled kit, not labor. Available estimates put professional installation labor in a separate range that depends heavily on your local market. Treat the pan cost and the install cost as two different line items when you budget.
Redi Base vs Redi Trench Shower Pans
Redi Base pans use a standard round or square drain. It sits in the center or off to one side of the floor. This is the simpler, more budget-friendly option. It works fine for most walk-in shower conversions where you’re not chasing a specific design look.

Redi Trench pans use a narrow channel drain that runs along one edge of the floor instead of a round grate in the middle. The Redi Trench 36 in x 72 in single curb shower pan with a right drain is one example. The linear drain sits flush with a metal grate, which gives the floor a cleaner, more finished look. This style tends to appeal to buyers doing a full bathroom remodel rather than a quick fix. Both lines carry UL listing and meet national and local plumbing codes. Your local building department can confirm exactly what applies to your project.
Drain Location, Grate Style, and Finish Options
You’ll need to pick a right drain or left drain orientation. Base that choice on where your existing waste line sits under the floor. Getting this wrong means either relocating plumbing or returning the pan, so measure and confirm drain position before you order.
Grate finishes typically include polished chrome, brushed nickel, matte black, and a tileable insert. The tileable option lets you set a small piece of matching tile into the grate for a nearly invisible drain cover. A solid brushed nickel grate costs a bit more than the polished chrome option. It holds up well in high-moisture, high-traffic bathrooms.
Installing a 36 x 72 Shower Pan
The pan sets directly onto the subfloor and connects to your existing drain stub with standard PVC fittings. The unit ships pre-sloped and factory-sealed. The installer doesn’t need to build a slope by hand or apply a separate liquid membrane before setting the tile.
Level the pan, then connect and test the drain for leaks. After that, tile goes directly onto the pan’s surface using a modified thin-set the manufacturer approves. Manufacturer instructions list specific thin-set products that bond correctly to the pan material. Check that list before you start setting tile.
DIY Installation vs Calling a Plumber
A handy DIYer comfortable with basic plumbing and tile work can usually set the pan itself and lay the surrounding tile. Where most homeowners run into trouble is the drain connection. A leak at that joint can travel into the subfloor and framing before anyone notices.
Call a licensed plumber if your project involves moving the drain location or tying into an unfamiliar waste line. Also call one if you’re not confident testing a drain connection for leaks before it’s covered by tile. Local rules can also require a permit or inspection for drain work. Check with your local building department, also known as the AHJ, before you start.
Common Mistakes That Cause Leaks
- Setting the pan on an uneven subfloor instead of shimming it level first
- Using a general-purpose thin-set instead of one from the manufacturer’s approved list
- Skipping a water test on the drain connection before the tile goes down
- Ordering the wrong drain side and trying to force a fit instead of returning the pan
Each of these mistakes is cheap to avoid and expensive to fix once tile covers the pan. A short water test before any tile touches the surface catches most drain leaks while they’re still easy to reach.
Picking the Right 36 x 72 Shower Pan for Your Bathroom
For most walk-in conversions, a Redi Base model with the correct drain side covers the job at the lowest cost. If you want a cleaner floor line and don’t mind paying more, choose a Redi Trench pan. The linear drain gives the shower a more finished, modern look.
Whichever 36 x 72 shower pan you choose, confirm your drain location and check the curb height against your bathroom’s threshold needs. Budget separately for professional installation if the drain work is outside your comfort zone.
36 x 72 Shower Pan FAQs
Can I install a 36 x 72 shower pan myself?
Many DIYers set the pan and tile it themselves. The drain connection is the part most likely to need a plumber’s attention. Local code may require a permit for drain work, so check first.
What’s the difference between a single curb and other curb styles?
A single curb pan has one raised edge at the shower entrance. That’s the standard setup for a straight alcove shower. Double and triple curb pans exist for corner or peninsula-style showers with more than one open side.
Do I need extra waterproofing under a Tile Redi pan?
No. These pans come as factory-sealed, one-piece units. You don’t need a separate waterproofing membrane underneath before tiling.
How do I know if I need a right drain or left drain pan?
Check where your existing drain stub sits in the subfloor before ordering. The pan’s drain location has to line up with that existing plumbing, or you’ll need to relocate the drain line.
Is a linear trench drain worth the extra cost over a round drain?
It comes down to style and budget. A trench drain gives a cleaner floor line for a remodel-focused bathroom. A round drain does the same job for less money.
