

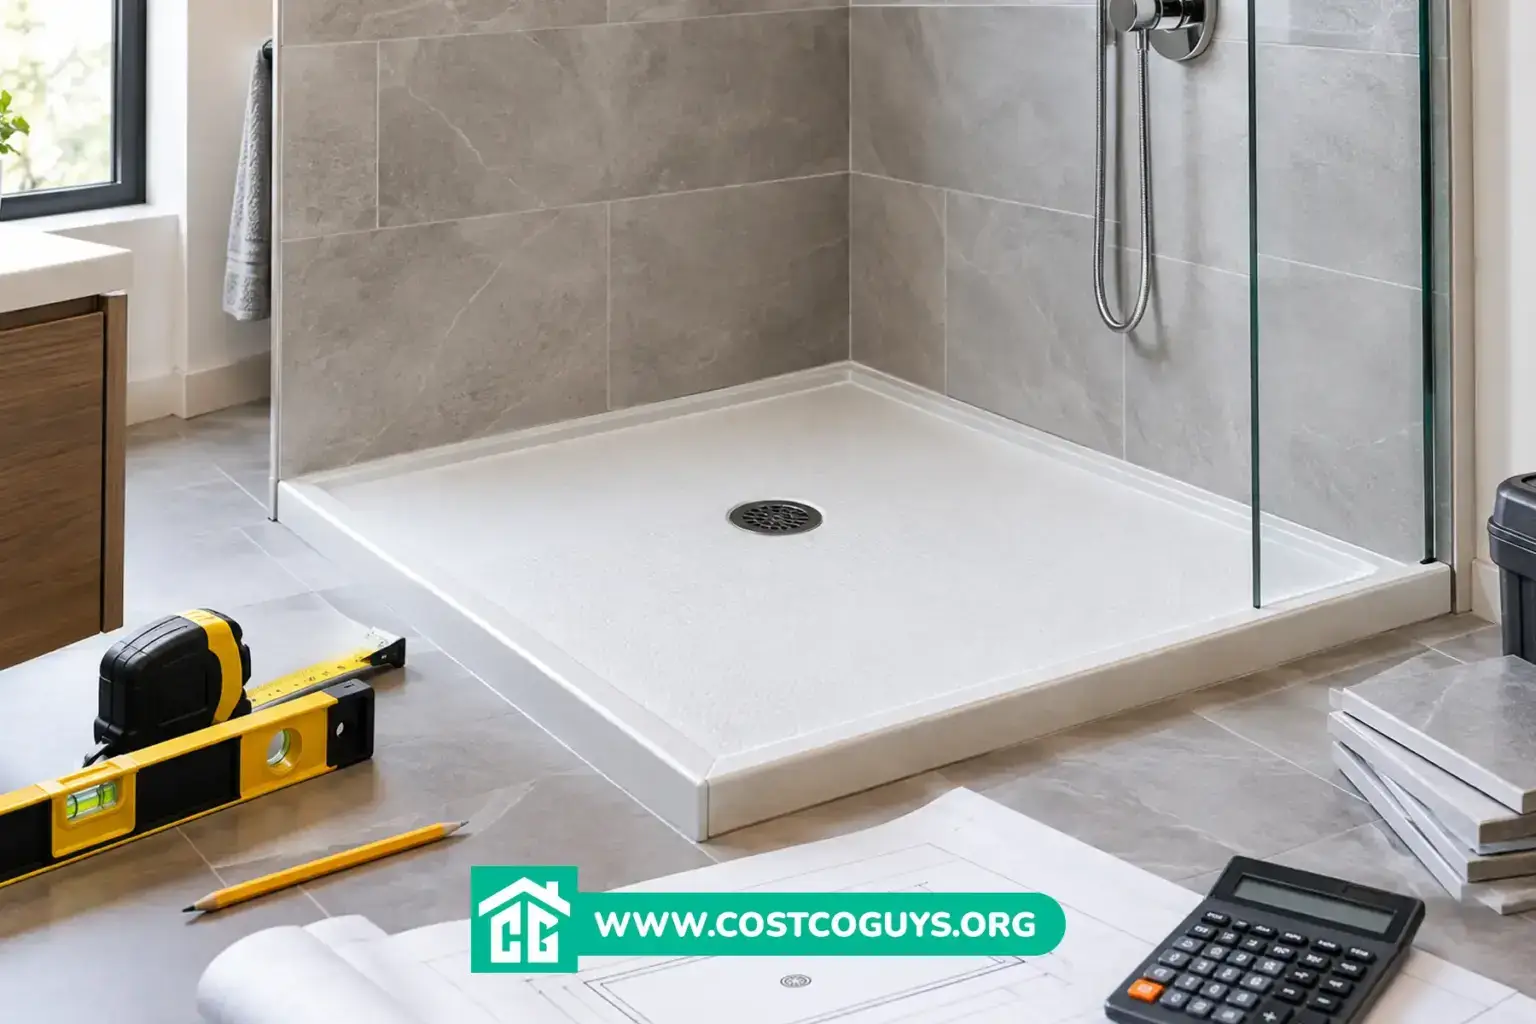

A 32×36 shower pan measures 32 inches deep by 36 inches wide, giving you 1,152 square inches of floor area, which clears the 900-square-inch minimum most U.S. residential codes set for shower compartments.
- What a 32×36 Shower Pan Actually Measures
- Does a 32×36 Shower Fit Code Minimums?
- Acrylic vs Fiberglass vs Tileable Bases
- Drain Position and Curb Configuration
- 32×36 Shower Pan Cost in 2026
- Framing and Rough Opening Checks
- Common Mistakes That Cause Shower Pan Leaks
- When to Call a Licensed Plumber
- Choosing the Right 32×36 Shower Pan
- Sources Used for This 32×36 Shower Pan Guide
- Frequently Asked Questions
That size lands in a useful spot. It’s wider than a bare-minimum 30×30 stall but still fits alcoves where a 60-inch tub was never an option. Most homeowners choose it for a second bathroom, a basement build-out, or a narrow closet conversion.
What a 32×36 Shower Pan Actually Measures
The two numbers refer to outside dimensions of the base, not the finished interior space you stand in. Depth usually runs front to back from the outside of the curb to the back wall flange. Width runs left to right along the opening.
Brands don’t agree on which number comes first. Tile Redi lists its 32×36 models as 32 inches deep by 36 inches wide. Other manufacturers list the same footprint as 36 inches long by 32 inches wide. Read the product page carefully before you frame anything, because a flipped measurement means a pan that won’t drop in.
Curb height varies more than people expect. Acrylic bases often sit around 2 to 4 inches at the threshold. Tileable pans run taller because tile and thin-set stack on top. Tile Redi’s single-curb 32×36 models list a curb width of 4.5 inches, which matters if you plan to tile the curb top and both faces.
Does a 32×36 Shower Fit Code Minimums?
Section P2708.1 of the International Residential Code sets the baseline: at least 900 square inches of interior cross-sectional area and no dimension under 30 inches, measured from the finished interior surface. That last part trips people up. The code measures finished surfaces, not framing.


Here’s why that matters for a 32×36 pan. The pan’s inside floor is already smaller than 32 by 36 once you account for the curb and the splash walls. Add tile on the walls and you lose a bit more. You still clear 30 inches easily at this size, but if you were eyeing a 30×30 pan instead, the finished interior could fall short.
Code adoption is local. Your city may use a different IRC edition or add amendments. Check with your local building department, sometimes called the authority having jurisdiction or AHJ, before you order. They’re the office that issues the permit and sends the inspector.
Acrylic vs Fiberglass vs Tileable Bases
Material choice drives price, install difficulty, and how the shower looks in ten years. All three options come in the 32×36 footprint.
| Base type | How it installs | Best for | Main drawback |
|---|---|---|---|
| Acrylic (fiberglass-reinforced) | Sets on mortar or shims, drain connects below | Fast swaps, rentals, budget remodels | Can flex underfoot if the mortar bed is skipped |
| Gelcoat fiberglass | Similar mortar-set install, often lighter | Second bathrooms and basement stalls | Surface dulls and scratches over time |
| Tileable pre-pitched pan | Bonded down, then tiled with modified thin-set | Custom tile look without a mud bed | Higher material cost and more labor |
| Solid surface or cultured marble | Mortar-set, heavy, needs two people | Owners who want a solid feel underfoot | Weight and limited color matching |
Acrylic and fiberglass bases arrive finished. You drop them in, connect the drain, and move on to walls. That’s the whole appeal.
Tileable pans take a different approach. Manufacturers build them as one-piece units with the drain, curb, and splash walls already integrated, and they come pre-sloped so you skip building a mortar bed by hand. Tile Redi, for example, pitches its pans at 1/4 inch per foot and says no additional waterproofing membrane is needed on the pan itself. You still tile the surface using an approved modified thin-set, which the manufacturer lists in the install instructions.
The real tradeoff isn’t durability. It’s whether you want a tiled floor. If you do, a pre-pitched tileable pan costs more upfront but removes the hardest part of a traditional shower build, which is sloping a mud bed correctly by hand.
Drain Position and Curb Configuration
Center drain is the default for 32×36 pans and matches most existing rough-in locations. Offset and left or right drains exist in some product lines, but selection narrows fast at this size.
Before ordering, measure from the finished wall to the center of your existing drain pipe. Then compare that to the manufacturer’s spec sheet, not the product photo. A drain that sits two inches off forces either a pan swap or opening the floor, and floor work is where budgets break.
Curb configuration depends on how many open sides your stall has. A single curb suits a standard alcove with three walls. Double curb works in a corner install where two sides are open. Triple curb handles a peninsula layout with only one wall. Tile Redi offers all three in the 32×36 footprint, plus barrier-free versions for zero-threshold entry.
Internal link opportunity: link to a Costco Guys guide on standard shower pan sizes and how to measure a rough opening.
32×36 Shower Pan Cost in 2026
Current verified retail pricing for specific 32×36 models wasn’t available at the time of writing, so treat the figures below as planning ranges rather than quotes. Prices move with brand, finish, and retailer promotions.
| Item or service | Typical cost range | What affects the price |
|---|---|---|
| Acrylic or fiberglass 32×36 base | $250 to $600 | Brand, threshold height, textured finish |
| Tileable pre-pitched pan | $600 to $1,200 | Curb count, drain grate finish, freight |
| Solid surface or cultured marble base | $500 to $1,100 | Color, thickness, regional availability |
| Tile and thin-set for a tileable pan | $75 to $300 | Tile size, mosaic vs large format, waste factor |
| Demo and haul-away of the old base | $150 to $500 | Cast iron vs fiberglass, stair access |
| Plumber labor to set the pan and tie in the drain | $400 to $900 | Local rates, crawlspace vs slab access |
| Drain relocation | $1,000 to $3,000 | Concrete slab cutting, joist work, permits |
That last line is the one to watch. Reporting from remodeling specialists puts drain relocation well above $1,000 before any wall repairs, which is often more than the pan itself. If your existing drain sits within an inch of the new pan’s outlet, you’re in good shape. If it doesn’t, price the relocation before you commit to a size change.
How We Estimated These Shower Pan Costs
These ranges pull from manufacturer product documentation, retailer category listings for 32-inch by 36-inch bases, and published remodeling cost reporting for drain and plumbing work. Material cost varies mostly by construction type, while labor swings with your local market and how your drain is routed.
A slab foundation costs more to work under than a crawlspace or open basement ceiling. Urban labor rates run higher than rural ones. These numbers are editorial guidance for budgeting, not a guaranteed local quote, so get two written estimates before scheduling.
Framing and Rough Opening Checks
Measure your opening in three places: at the floor, at mid-height, and near the ceiling. Old walls bow. A 36-inch opening at the floor can pinch to 35 and a half higher up, and you won’t find out until the pan is halfway in.
Check the subfloor for level across both directions. A pan set on an out-of-level floor will hold standing water in one corner no matter how well the drain works. Shim and level the substrate first, then set the pan in mortar.
One detail that catches DIYers off guard: manufacturer spec listings sometimes disagree with each other. The same Tile Redi 32×36 center-drain model appears in one listing at 4.5 inches tall and in another at 5.75 inches, likely reflecting different grate or configuration options. Download the PDF spec sheet for the exact model number you’re buying, and frame to that document rather than to the listing summary.
Common Mistakes That Cause Shower Pan Leaks
Most shower pan failures trace back to install shortcuts, not bad products. A few show up over and over.
- Skipping the mortar bed. Acrylic and fiberglass bases need full support underneath. Set on bare subfloor, they flex, and flexing cracks the drain seal over time.
- Fastening through the pan floor. Screws go through the flange into studs, never through the walking surface.
- Wrong thin-set on a tileable pan. Manufacturers list approved modified thin-sets for a reason. Unmodified mortar can fail to bond to the pan surface.
- Backer board installed over the flange instead of behind it. Water running down the wall needs to land inside the pan, not behind it.
- Silicone instead of proper flashing at the curb ends. Caulk is a finish, not a waterproofing system.
Run a flood test before tiling if your pan type allows it. Plug the drain, fill to just below the curb, and leave it overnight. Twenty-four hours of standing water tells you more than any inspection by eye.
When to Call a Licensed Plumber
Setting an acrylic base in an existing alcove with a drain already in the right spot sits within reach of an intermediate DIYer. Beyond that, the calculus changes.
Call a licensed plumber when the drain needs to move, when you’re cutting into a concrete slab, when the old pan leaked long enough to stain the ceiling below, or when framing shows soft or discolored wood. Water damage that reached joists or subfloor is structural work, and hidden mold is a real possibility in a shower that leaked for months. Permits and inspections may apply to drain work in your area, so confirm requirements with your local building department before starting.
Choosing the Right 32×36 Shower Pan
Start with the drain. Match your existing rough-in location first, because that single measurement decides whether this is a weekend project or a four-figure plumbing job. Then pick your material based on whether you want a tiled floor or a finished drop-in surface.
A 32×36 shower pan gives you real breathing room over a 30×30 stall without demanding a bigger bathroom. Pull the spec sheet for your exact model number, verify the rough opening in three spots, and confirm local code with your building department before you order.
Sources Used for This 32×36 Shower Pan Guide
Every measurement, code reference, and cost range above traces back to one of these. Check them yourself if a number affects your build.
- Shower compartment size requirements: Building Code Trainer, IRC Section P2708.1 shower size. Source for the 900-square-inch area minimum and the 30-inch minimum finished dimension.
- Tileable pan specifications: Tile Redi Redi Base 32 in x 36 in single curb pan, model P3236C-PVC. Source for the 1/4 inch per foot pre-pitch, the 2-inch center PVC drain, the 4.5-inch curb width, the UL listing, and the modified thin-set requirement.
- Retail availability and dimension conventions: Lowe’s 32-in x 36-in shower pan category and The Home Depot Tile Redi P3236C-PVC listing. Both show how brands flip the depth and width order in product titles.
- Gelcoat fiberglass comparison: Bestbath P3632 36″ x 32″ single-piece alcove pan. Source for the 4-inch curbed threshold on a gelcoat fiberglass unit.
- Drain relocation cost: Block Renovation, minimum shower dimensions and costs. Source for the $1,000 to $3,000 drain relocation range.
- The code measures finished surfaces, not framing.
Retail pricing for specific 32×36 models was not listed on the pages checked, which is why the cost table uses planning ranges instead of quoted prices.
Frequently Asked Questions
Is a 32×36 shower big enough for an adult?
Yes, for most adults. At 1,152 square inches it sits above the code minimum and gives you more elbow room than a square 30×30 stall. Designers often suggest 36×36 as the comfortable target, so a 32×36 lands just under that mark.
Can I replace a 32×36 shower pan without removing the wall tile?
Usually not cleanly. The bottom two or three rows of tile and the backer board behind them typically have to come out so the new pan’s flange sits behind the wall material. Budget for that tile repair when you price the swap.
What’s the difference between a shower pan and a shower base?
The terms get used interchangeably at retail. Some pros use “pan” for the waterproof liner under a tiled floor and “base” for the finished drop-in unit. When shopping, read the product description rather than relying on the word itself.
Do I need a plumbing permit to replace a shower pan?
It depends on your jurisdiction and on whether you’re touching the drain line. A straight swap with no plumbing changes often doesn’t require one, while relocating or replacing drain piping frequently does. Call your local permit office and ask before you demo.
How long should a 32×36 shower pan last?
A properly installed acrylic or fiberglass base commonly runs 15 to 20 years before the finish wears out. Tiled pans over a pre-pitched base can last longer, since you can regrout or retile the surface without replacing the waterproof layer underneath.
