

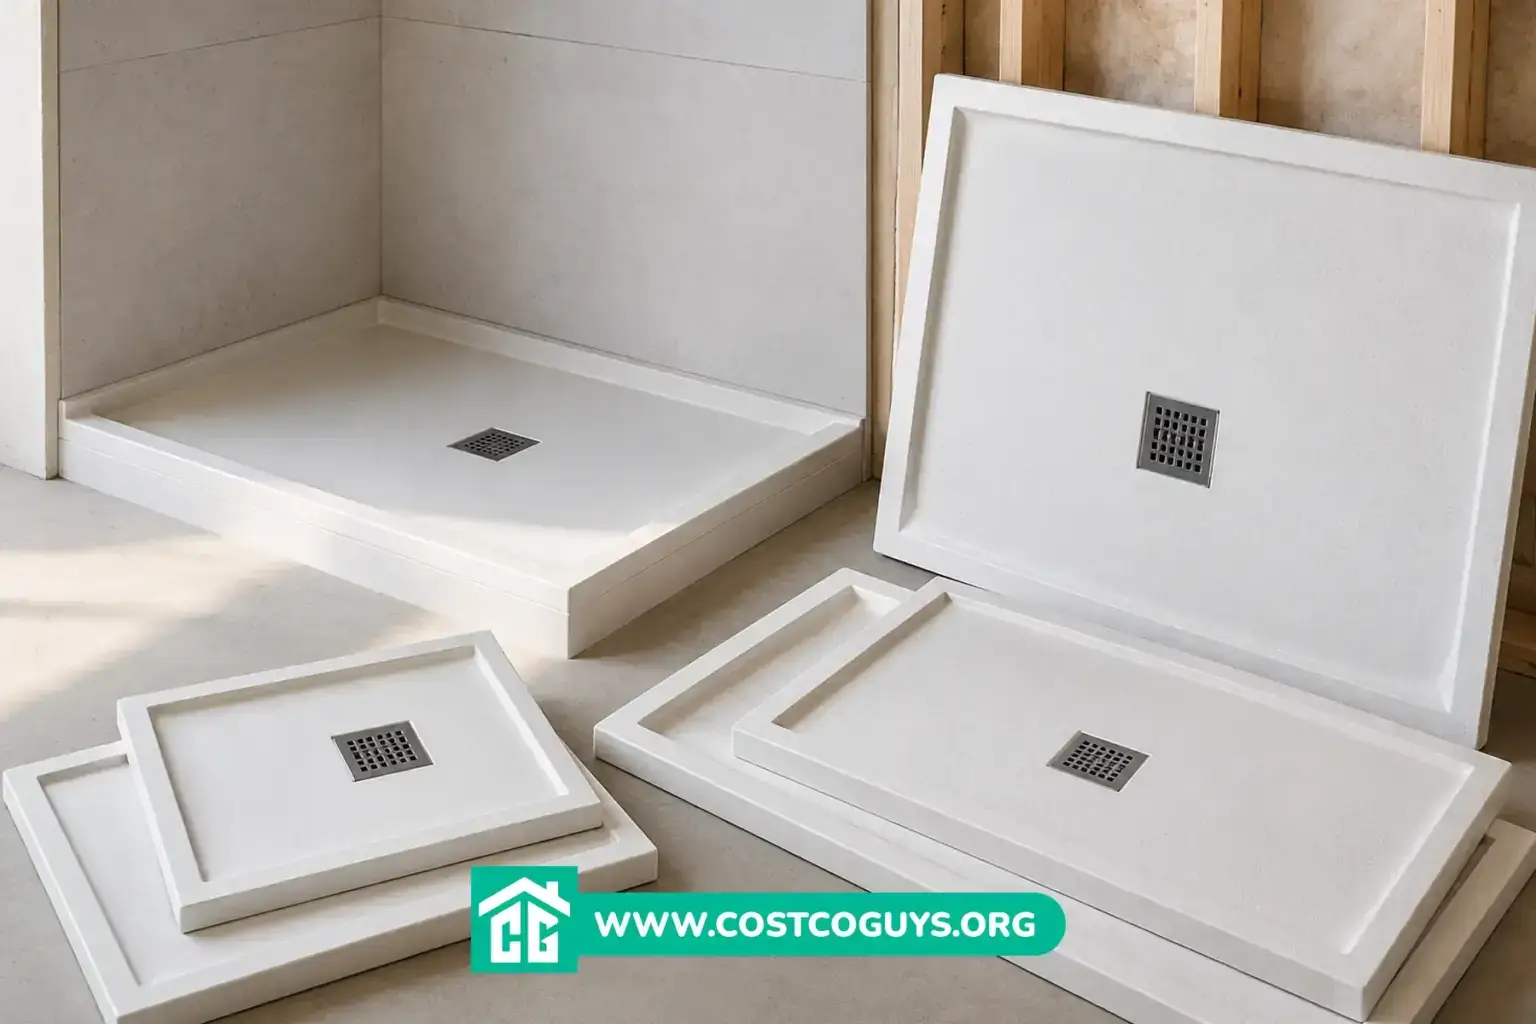

Foam shower pans are lightweight EPS foam shower bases that come pre-sloped and ready to tile. They typically cost between $150 for a basic preformed kit and $1,500 or more for a custom shape in 2026.
- What a Foam Shower Pan Actually Is
- Foam Shower Pan Cost Ranges for 2026
- Standard Sizes vs Custom Foam Shower Pans
- EPS Foam vs Traditional Mortar Bed Shower Pans
- Choosing a Drain Kit That Matches Your Pan
- Installing a Foam Shower Pan: What DIYers Can Handle
- Common Mistakes That Lead to Leaks
- How These Cost Estimates Were Put Together
- Picking the Right Foam Shower Pan for Your Remodel
- Foam Shower Pan FAQs
What a Foam Shower Pan Actually Is
A foam shower pan is a molded shower base made from EPS, short for expanded polystyrene. Some pans use XPS, or extruded polystyrene, instead. Manufacturers cut the foam with a built-in slope, usually around 1/4 inch per foot. That slope sends water toward the drain, so you skip building a mortar bed by hand.
The pan already has the pitch built in. That means you skip the messy part of a traditional shower installation: mixing and floating a sloped mortar bed. You still waterproof the surface with a membrane or liquid coating, then set tile directly on top. Brands like Schluter, Laticrete, Prova, Profilitec, and Built With Foam all sell versions of this product. Most work with standard drain hardware.
Foam Shower Pan Cost Ranges for 2026
Pricing depends heavily on whether you buy a standard preformed size or order a custom shape. An odd bathroom layout usually pushes you toward custom. Here’s what the market looks like right now.
| Item or Service | Typical Cost Range | What Affects the Price |
|---|---|---|
| Standard preformed foam pan (pan only) | $150 – $950 | Size, brand, curb included or not |
| Custom-shaped foam pan (pan only) | Starting around $25 per square foot, often $400 – $1,500+ | Square footage, shape complexity, bench or curb add-ons |
| Drain kit and flange | Typically $50 – $150 | Brand, grate finish, round vs square flange style |
| Full pro installation (pan plus labor) | $220 – $3,500 | Shower size, tile choice, contractor rates, removal of an old pan |
| Traditional mortar bed pan, for comparison | $225 – $500 for a hot-mopped pan alone | Labor time, mortar materials, waterproofing method |
Custom orders cost more per square foot than standard sizes. But they save labor time on-site, since there’s no mud bed to float and cure. One foam pan maker starts custom pricing at $25.50 per square foot. Finished pans often ship within a day or two of ordering. That speed matters if you’re paying a tile contractor by the day. Nobody wants them standing around waiting for mortar to set.
Standard Sizes vs Custom Foam Shower Pans
Most manufacturers stock a handful of common rectangle and square sizes, things like 32×60, 36×60, or 48×48 inches. If your shower opening matches one of those dimensions, a standard kit works well. It’s almost always cheaper and ships faster than a custom order.

Custom pans come into play when your shower isn’t a simple rectangle. Angled walls, an L-shaped layout, a curbless entry, or a built-in bench all push you toward a custom foam pan. Custom pan makers build these to fit your exact layout. The floor comes pre-sloped and engineered around a 1/4 inch per foot pitch. That removes the guesswork of shaping the slope yourself.
One thing to double-check before ordering custom: final pricing usually increases based on the size, layout, and any extras you add. The advertised starting price is a floor, not a quote. Measure twice and confirm your drain location before you submit specs. Most custom foam pans are made to order and can’t be returned once cut.
EPS Foam vs Traditional Mortar Bed Shower Pans
The old-school method for a tile shower floor is a drypack mortar bed: sand, cement, and water packed and sloped by hand. A waterproofing membrane goes on top. It works, and plenty of tile setters still prefer it. But it takes longer and adds real weight to the subfloor. It also leaves more room for a slope mistake if the installer isn’t experienced.
Foam shower pans skip the floating step entirely. The slope comes pre-cut at the factory. As long as you level the pan correctly during installation, the pitch is already correct. EPS foam is also naturally resistant to ants and termites. It cuts easily with a utility knife or hand saw. That makes it simple to trim the pan around a curb or notch it for plumbing.
The tradeoff is upfront cost per square foot. A basic mortar bed uses cheap materials, mostly sand and cement, while foam pans carry a manufacturing premium. Where foam usually wins is total project time. You can waterproof and even flood-test the same day you set the pan, instead of waiting days for mortar to cure.
Choosing a Drain Kit That Matches Your Pan
Not every drain works with every shower pan type, and this is where a lot of first-time DIYers get stuck. Drain kits generally split into two categories: ones built for mortar bed pans and ones built for preformed foam trays.
Round bonding flange kits are the more common match for foam pans, since the foam is already shaped to accept them. Square flanges tend to suit drypack mortar installations better. A bond flange drain kit for mortar pans includes anti-wicking fabric and seal cells designed to integrate with a sheet membrane. A different style is built to drop directly into most preformed foam shower trays. Before you buy a drain, confirm which foam brand your pan is. Some kits are direct fits for specific manufacturers like Schluter, Prova, or Profilitec, and others need an adapter.
If you’re not sure which drain style your pan needs, check the pan manufacturer’s installation guide before ordering hardware. Buying the wrong flange type is one of the most common, and most annoying, mistakes on a foam shower pan project. It usually means a return shipment and a delayed install.
Installing a Foam Shower Pan: What DIYers Can Handle
Setting the pan itself is a job most comfortable DIYers can tackle. You dry-fit the pan in the opening and check it for level. Then you set it in thin-set mortar or adhesive, following the manufacturer’s instructions. Connect the drain and apply your waterproofing membrane over the whole surface, curb included. After that, you tile like you would over any other waterproofed substrate.
Where things get trickier is the plumbing connection. Tying the new drain into your existing waste line, adjusting pipe height, or moving a drain location all involve cutting into plumbing. That plumbing connects to your home’s drain-waste-vent system. Your P-trap, the curved pipe under a drain that holds water and blocks sewer gas, might sit at the wrong height for your new pan. If so, that’s a job for a licensed plumber, not a weekend project.
Local rules on drain modifications, venting, and whether a permit applies can vary by city and county. Check with your local building department, sometimes called the authority having jurisdiction or AHJ. Do this before you cut into existing plumbing for a shower remodel.
Common Mistakes That Lead to Leaks
Skipping the flood test is the single most expensive mistake homeowners make with a new shower pan. Plug the drain and fill the pan with an inch or two of water for 24 hours before you tile. This tells you immediately if the waterproofing seal is bad. Catching a leak after tile is set means tearing everything back out.
A second common issue is using the wrong mortar type under the pan. Some foam pan manufacturers require a specific thin-set or large-format tile mortar to get full contact under the flange area. Using the wrong product can leave a gap that eventually cracks or leaks. Read the installation sheet that comes with your specific pan rather than assuming all thin-set products work the same way.
How These Cost Estimates Were Put Together
These ranges come from current retailer and manufacturer pricing for preformed and custom foam shower pans. They also draw on recent contractor cost data for full shower pan installations. Foam pan prices vary by brand, size, and whether you’re buying a stock size or a custom cut. Treat the table above as a planning range, not a quote for your specific bathroom.
Labor costs for a full installation swing widely based on your region. Other factors include whether an old pan needs removal and local contractor rates. Getting two or three local quotes is still the most reliable way to nail down what your specific project will cost.
Picking the Right Foam Shower Pan for Your Remodel
If your shower opening matches a common size, a standard preformed foam pan is the cheaper, faster route. It works fine for most bathroom remodels. If you’ve got an angled wall, a curbless entry, or a built-in bench, a custom foam shower pan makes more sense. It costs more per square foot, but it saves you from forcing a mismatched stock size into an irregular space.
Either way, match your drain kit to your specific pan brand. Don’t skip the flood test, and call a licensed plumber if the drain connection needs real plumbing work. Get those three things right, and a foam shower pan will hold up as well as a traditional mortar bed. You’ll deal with a lot less mess along the way.
Foam Shower Pan FAQs
Are foam shower pans as durable as fiberglass or tile-over-mortar bases?
Yes, once tiled and waterproofed correctly. EPS foam is dense enough to support standing weight and tile loads. The durability comes from the waterproofing membrane and tile layer on top, not the foam alone.
Can I cut a foam shower pan to fit an odd-sized opening?
You can trim minor amounts with a utility knife or hand saw. For anything beyond a small adjustment, ordering a custom-sized pan is safer. Cutting into the slope or drain area yourself can throw off drainage.
Do foam shower pans work with any shower drain?
Not always. Foam pans generally pair best with round bonding flange drain kits made for preformed trays. Some brands require a specific compatible kit, so check your pan manufacturer’s guide before buying a drain separately.
How long does a foam shower pan installation take?
Setting the pan itself usually takes a few hours. The bigger time factor is waterproofing cure time and the 24-hour flood test. Plan on a few days between setting the pan and starting tile work.
Is a foam shower pan cheaper than a traditional mortar bed?
It depends on labor. The foam pan itself costs more than raw mortar materials. But it saves labor hours since there’s no mud bed to float. For DIYers, foam often works out cheaper overall, since it removes the trickiest part of the job.
