

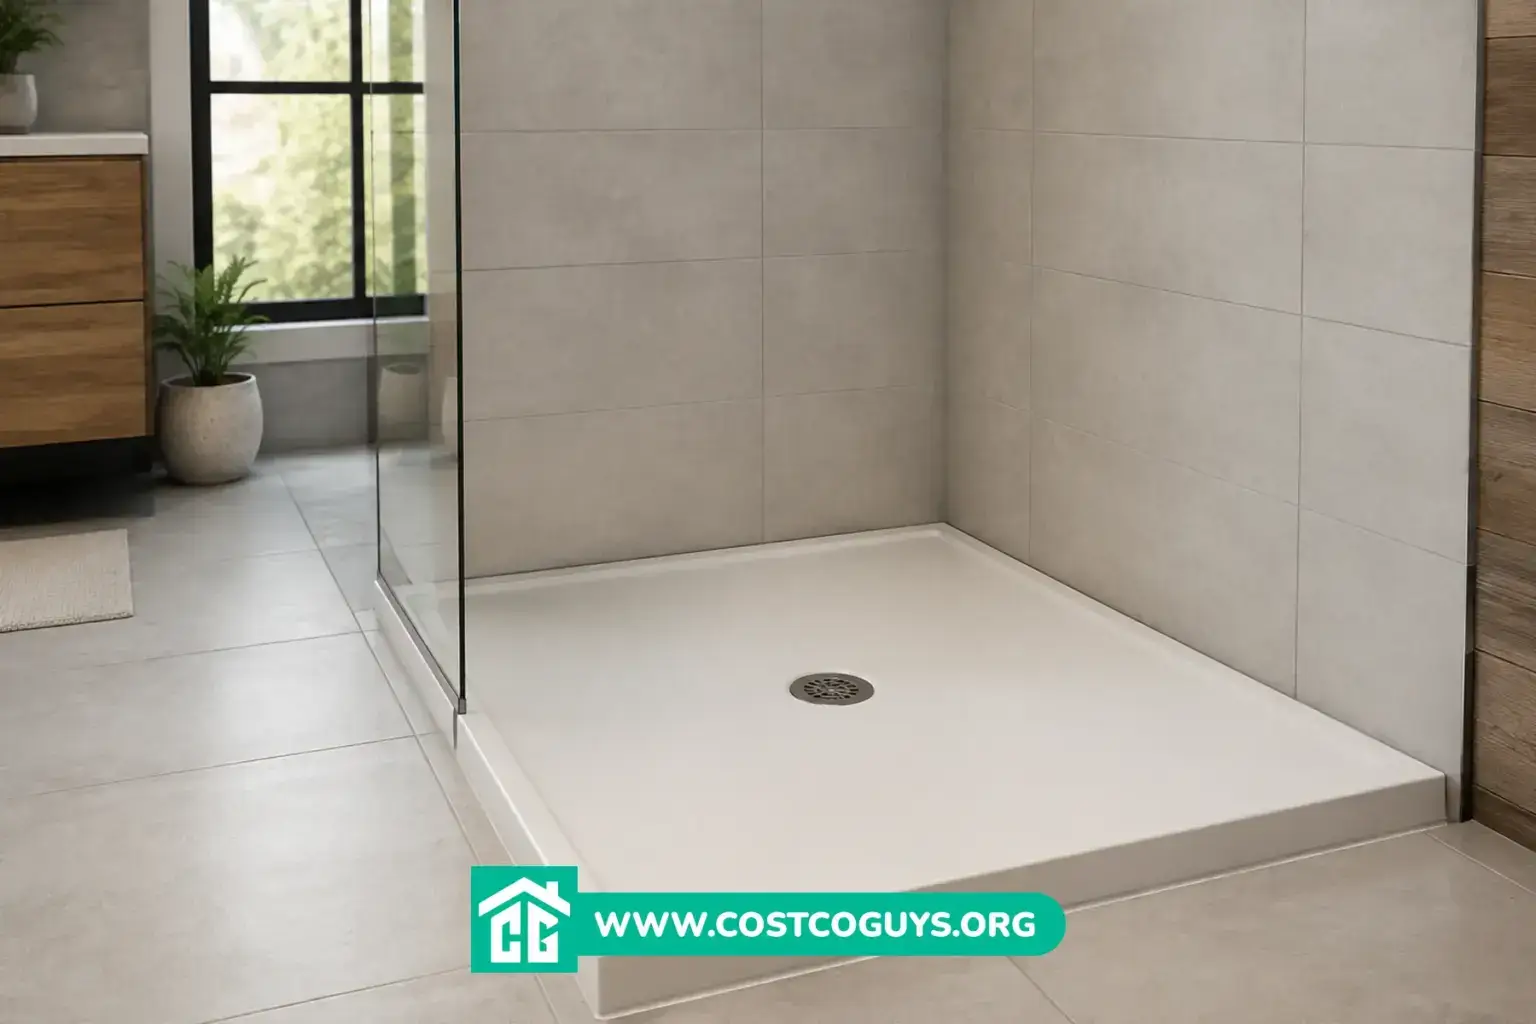

A 48×60 shower pan is a rectangular shower base built for walk-in showers with extra floor space. It typically costs between $150 and $1,200 in 2026, depending on material and drain type. That range covers everything from a basic acrylic pan to a fully tileable, pre-sloped base with an integrated linear drain.
- What a 48×60 Shower Pan Is Built For
- 48×60 Shower Pan Cost Ranges by Material
- Acrylic vs Fiberglass vs Tileable 48×60 Bases
- Center Drain vs Linear Drain Options
- Threshold Height and Barrier-Free Layouts
- DIY Installation vs Hiring a Pro for a 48×60 Base
- Common Mistakes When Buying a 48×60 Shower Pan
- Choosing the Right 48×60 Shower Pan for Your Remodel
- FAQ
What a 48×60 Shower Pan Is Built For
The numbers describe the pan’s footprint in inches: 48 inches on one side and 60 inches on the other. That’s larger than a standard 32×60 or 36×60 stall. It works well in primary bathrooms where you’re converting a tub space. It also fits new walk-in showers that need extra room to move.
Manufacturers sell 48×60 shower bases in acrylic, fiberglass, and tileable composite materials. Some come as part of a full shower pan kit with matching wall panels. Others are sold as a standalone base you tile and finish yourself.
48×60 Shower Pan Cost Ranges by Material
Price depends heavily on the material and whether the drain is included. Basic acrylic and fiberglass bases sit at the low end. Pre-sloped tileable bases with linear drains cost more because they eliminate the need for a traditional mud bed.
| Material or type | Typical cost range | What affects the price |
|---|---|---|
| Fiberglass base | $150 to $350 | Lightweight construction, fewer finish options, shortest lifespan of the group |
| Acrylic base | $250 to $600 | Better surface durability and gloss retention, more color and threshold choices |
| Solid surface or stone composite | $400 to $900 | Heavier, more resistant to cracking and staining, often need two people to carry |
| Tileable pre-sloped base (center or linear drain) | $500 to $1,200+ | Built-in slope and waterproofing, custom tile surface, brand and drain style |
How These Ranges Were Built
These figures come from current listings at major home improvement retailers and manufacturer product pages, not a single averaged number. Shipping adds real cost too, since a 48×60 pan is bulky. Some retailers charge freight separately on top of the listed price.
Treat these as planning ranges rather than a quote. Local material availability, the specific brand, and any installation kit add-ons will move your actual number up or down.

Acrylic vs Fiberglass vs Tileable 48×60 Bases
Fiberglass is the budget option. It’s lightweight and easy to carry into a bathroom alone. The gel coat surface scratches and yellows faster than acrylic, especially in homes with hard water.
Acrylic holds up better over time and resists staining. That makes it a common mid-range pick for a 48×60 shower pan in a primary bathroom. It costs more than fiberglass but usually outlasts it by years.
Tileable bases work differently. Instead of a finished acrylic or fiberglass surface, you get a pre-sloped foam or composite pan that you tile over. The shower floor can then match your wall tile or match stone flooring elsewhere in the bathroom. This option gives you the most design flexibility but adds tile labor and materials to the total project cost.
Center Drain vs Linear Drain Options
A center drain sits in the middle of the pan. This is the traditional layout. It’s usually the cheapest to install if your existing drain rough-in already lines up with the center.
A linear drain runs along one edge of the pan instead. This layout gives a cleaner, more modern look. It can also make barrier-free entry easier to achieve. The slope only needs to run in one direction toward the edge. A center drain, by contrast, needs the slope to run toward a single point in the middle.
If you’re gutting a tub-to-shower conversion, check your existing drain location before choosing a drain style. Moving a drain line to match a linear pan can mean cutting into the subfloor. That pushes the job past basic DIY territory.
Threshold Height and Barrier-Free Layouts
Threshold refers to the raised curb, or lip, at the entry of the shower pan that keeps water inside. Standard 48×60 bases usually come with thresholds between 3 and 6 inches. Barrier-free versions sit nearly flush with the bathroom floor.
Barrier-free, or curbless, layouts are popular for aging-in-place bathrooms and walk-in accessibility. They require a lower subfloor at the shower area, or a raised floor build-up just outside it. That extra work generally costs more in labor than a standard threshold install.
Local building departments, often called the authority having jurisdiction or AHJ, set their own rules in many areas. Those rules can cover shower floor slope and drain sizing. Check with your local permit office before finalizing a barrier-free layout, since requirements can differ by city and county.
DIY Installation vs Hiring a Pro for a 48×60 Base
Setting a standalone acrylic or fiberglass pan onto an existing drain is a job many basic DIY homeowners can handle. You’ll need two people, a level, and standard plumbing tools. You’re mainly checking that the pan sits flat, the drain connects cleanly, and the subfloor underneath is solid.
Tileable bases add more steps. You’ll need to dry-fit the pan, confirm the slope toward the drain, and then tile and grout the surface. That last step takes tile-setting experience to get a watertight result.
Call a licensed plumber if the project involves moving the drain line or cutting into floor joists. Also call one if you find soft or water-damaged subfloor once the old tub or pan comes out. Active leaks reaching the subfloor or nearby walls also mean it’s time to call a professional.
Common Mistakes When Buying a 48×60 Shower Pan
- Ordering before confirming the rough opening dimensions, since framed openings can run slightly smaller than the pan’s stated size
- Picking a drain style that doesn’t match the existing rough-in without budgeting for drain relocation
- Skipping the shipping weight and crate size, which can mean the pan won’t fit through a doorway or stairwell
- Assuming a fiberglass pan will hold up as long as acrylic or a tileable composite base in daily use
- Forgetting to check for a matching wall kit or trim pieces if you want a coordinated shower installation
Choosing the Right 48×60 Shower Pan for Your Remodel
The right 48×60 shower pan comes down to three things. Your budget, your existing drain location, and how much tile work you want to take on. A straightforward acrylic base with a center drain keeps costs and labor lowest. A tileable linear-drain pan costs more upfront but gives you a custom, barrier-free look.
Measure your rough opening and existing drain position before you shop. Confirm any local code questions with your building department if you’re changing the drain layout or going curbless. That prep work saves you from ordering the wrong pan twice.
FAQ
Is a 48×60 shower pan a standard size?
It’s one of the common larger rectangular sizes sold by most major manufacturers. It’s not as universal as 32×60 or 36×60 stalls, though. Most big home improvement retailers stock several 48×60 options in acrylic, fiberglass, and tileable materials.
Can I install a 48×60 shower pan myself?
Many homeowners can install a standalone acrylic or fiberglass pan themselves. This works if the drain location doesn’t need to move and the subfloor is solid. Tileable pans and any project involving drain relocation usually call for more experience or a licensed plumber.
What’s the difference between a shower pan and a shower base?
The terms get used interchangeably in most product listings. Both describe the waterproof floor of the shower that channels water to the drain. That floor can be a finished acrylic surface or a pre-sloped base meant to be tiled.
Do I need a permit to replace a shower pan?
That depends on your local building department. A straight swap with no drain or plumbing changes often doesn’t need a permit. Moving a drain or changing the shower footprint usually does. Check with your local AHJ before starting the project.
Why do tileable 48×60 pans cost more than acrylic ones?
You’re paying for the pre-sloped, waterproof structure underneath, plus the flexibility to finish the surface with any tile you want. That upfront cost often gets offset by skipping a traditional mud bed, which takes more labor time to build correctly.
