

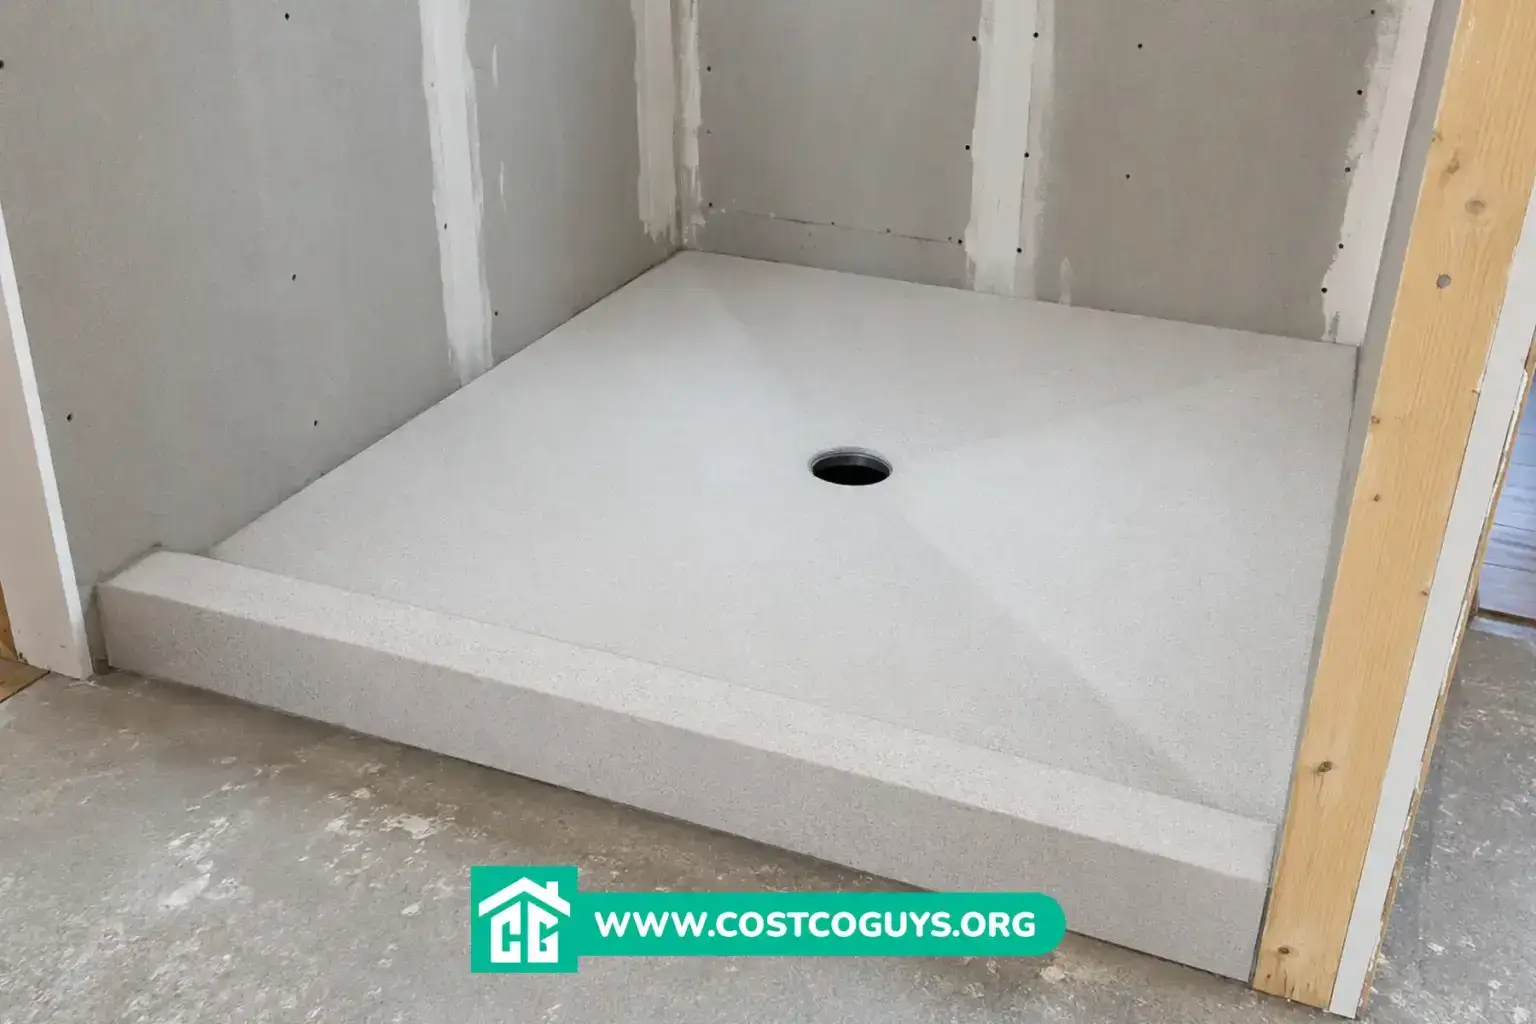

A pre-sloped shower pan for tile costs $130 to $450 for the pan alone, or $900 to $2,500 with professional installation in 2026. The exact price depends on the pan size, brand, and whether you choose a center drain or linear drain configuration.
- What a Pre-Sloped Shower Pan for Tile Actually Does
- How Much a Pre-Sloped Shower Pan Costs in 2026
- Pre-Sloped Pan vs Traditional Mud Bed Slope
- Installing a Pre-Sloped Shower Pan Step by Step
- Common Mistakes That Lead to Shower Leaks
- How This Cost Estimate Was Determined
- When to Call a Plumber Instead of DIYing the Drain
- Choosing the Right Pre-Sloped Shower Pan for Tile
- Frequently Asked Questions
What a Pre-Sloped Shower Pan for Tile Actually Does
A pre-sloped shower pan is a factory-made foam base that already has the correct slope built into it. You set it on the subfloor, connect the drain, and tile straight over the top. No mud bed, no hand-troweling a slope, no guesswork about whether your pitch meets code.
The pan is usually made from expanded polystyrene (EPS), a rigid foam that’s light enough to carry into a bathroom by yourself. Most models come with a factory slope of about 1/4 inch per foot, which is the standard drainage angle most plumbing codes call for on shower floors.
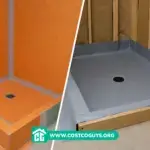
Brands like Schluter’s Kerdi-Shower, Laticrete’s Hydro Ban, and Wedi all sell versions of this product. Some come pre-waterproofed with a bonded membrane. Others need you to apply a separate waterproofing coat or sheet membrane before tile goes down.
How Much a Pre-Sloped Shower Pan Costs in 2026
The pan itself is the cheapest part of the job. A standard 38 by 60 inch Kerdi-Shower tray runs about $130 to $145 at retailers like Home Depot and Floor and Decor, based on current listings. Larger trays, off-center drain configurations, and linear drain trays cost more, often $250 to $450.
Full kits that bundle the pan with a drain, curb, and waterproofing strips typically cost $300 to $700. Professional installation, including labor to set the pan, connect the drain, and prep for tile, usually adds another $500 to $1,800 depending on your market and shower size.

| Item | Typical Cost Range | What Affects the Price |
|---|---|---|
| Pre-sloped pan only | $130 to $450 | Brand, size, center vs linear drain |
| Complete kit (pan, curb, drain flange) | $300 to $700 | Included components, PVC vs ABS fittings |
| Professional installation labor | $500 to $1,800 | Local labor rates, drain relocation, subfloor prep |
| Full pan plus tile floor installed | $900 to $2,500 | Tile choice, shower size, linear drain complexity |
These ranges reflect national pricing patterns from contractor cost databases and current retail listings, not a guaranteed quote for your home. Your actual cost depends on your local labor rates and the specific pan you pick.
Pre-Sloped Pan vs Traditional Mud Bed Slope
A traditional mud bed uses a sand and cement mortar mix, hand-packed and sloped by a tile setter over an hour or more per shower. It works, but it depends entirely on the installer’s skill to get a consistent 1/4 inch per foot slope across the whole floor.
A pre-sloped pan skips that step. The slope is already correct out of the box, which cuts installation time from hours down to about 20 to 30 minutes for setting the pan alone. That time savings is why many tile setters now default to pre-sloped pans on standard rectangular showers.
Mud beds still make sense for irregular shower shapes, custom drain placement, or curbless designs that don’t match a standard pan size. A skilled tile setter can shape mortar around a corner or angled wall in ways a rigid foam pan can’t match. For a straightforward rectangular or square shower, though, the pre-sloped pan usually wins on labor cost and consistency.
Installing a Pre-Sloped Shower Pan Step by Step
The process is more approachable than a mud bed, but it still requires care at the drain connection and the seams where the pan meets the waterproofing membrane.
- Confirm the subfloor is flat, clean, and structurally sound. Plywood or cement backer board both work as a base.
- Dry-fit the pan over the drain location and mark where the drain body needs to sit.
- Cut the pan opening for the drain flange, following the manufacturer’s template.
- Set the pan in thin-set mortar or manufacturer-approved adhesive, pressing firmly to avoid air gaps underneath.
- Connect the drain body to the existing waste line below the subfloor, then attach the drain flange through the pan.
- Apply waterproofing membrane over the pan and seams if the pan isn’t pre-waterproofed, overlapping every joint per the product instructions.
- Let the waterproofing cure fully before setting tile, usually 24 hours depending on the product.
A P-trap, the curved section of drain pipe that holds water to block sewer gas from entering your home, needs to already be in place and properly vented before you set the pan. If it isn’t, that’s plumbing work for a licensed plumber, not a DIY tile job.
Common Mistakes That Lead to Shower Leaks
Skipping waterproofing at the pan-to-wall transition causes more failed showers than any other single mistake. Water finds the smallest gap, and that seam is where pans meet vertical waterproofing membrane on the walls.
Cutting the pan too aggressively to fit a tight space is another common problem. Trimming too much off one edge throws off the slope and creates a low spot where water pools instead of draining. If you need to trim, take material off evenly from opposite sides whenever the manufacturer allows it.
Skipping a flood test before tiling is a mistake that costs far more later than it saves now. Plugging the drain and filling the pan with water for 24 hours confirms the waterproofing holds before you commit to tile and grout on top.
How This Cost Estimate Was Determined
This price range comes from comparing current retail listings for pre-sloped pans at major suppliers including Home Depot, Floor and Decor, and specialty tile retailers, alongside contractor labor cost data from HomeGuide and Homewyse. Material costs reflect what’s actually selling in 2026, not manufacturer suggested retail pricing.
Labor costs vary the most by region. A tile setter in a major metro area often charges more per hour than one in a smaller market, and drain relocation or subfloor repair adds time that a straightforward pan swap wouldn’t need. Treat these figures as a starting range for budgeting, not a fixed quote, since your specific shower size and local rates will shift the final number.
When to Call a Plumber Instead of DIYing the Drain
Setting the pan itself is a reasonable DIY task for someone comfortable with tile work. Moving or connecting the drain line is a different matter. If your existing drain isn’t in the right spot for your new pan, or the P-trap needs relocation, that work touches your home’s waste line and venting system.
Local codes typically require a licensed plumber for any work that alters the drain, waste, or vent piping behind the wall. Getting this wrong risks slow drainage, sewer gas leaking into the bathroom, or a failed inspection if you’re pulling a permit for the remodel.
Choosing the Right Pre-Sloped Shower Pan for Tile
For most standard rectangular or square showers, a pre-sloped shower pan for tile is the faster, more consistent option compared to a hand-packed mud bed, and it typically costs less in labor even though the pan itself adds a material cost a mud bed doesn’t have. Budget $130 to $450 for the pan, $300 to $700 for a complete kit, and $900 to $2,500 for the whole job installed with tile.
Pick a pan size that matches your shower footprint closely, choose center or linear drain based on your tile layout preference, and don’t skip the flood test before grout goes down. That single step catches problems while they’re still cheap and easy to fix.
Frequently Asked Questions
Can I install a pre-sloped shower pan myself?
Yes, setting the pan and applying waterproofing is a manageable DIY task if you’re comfortable with tile work and follow the manufacturer’s instructions closely. Drain relocation or plumbing changes should go to a licensed plumber, since that work involves your home’s waste and vent lines.
Do pre-sloped shower pans work with a linear drain?
Yes, several manufacturers, including Schluter and Laticrete, make pre-sloped trays designed specifically for linear drains. These pans slope in a single direction toward the drain channel instead of sloping toward a center point, which lets you use larger floor tiles with fewer cuts.
How long does a pre-sloped shower pan last?
A properly installed pre-sloped pan with intact waterproofing can last as long as the tile shower itself, often 20 years or more. Failure almost always traces back to a waterproofing gap or a cracked seam rather than the pan material wearing out.
Is a pre-sloped pan cheaper than a mud bed shower floor?
The pan itself adds a material cost a mud bed doesn’t have, but the labor savings usually offset that. Most tile setters spend less total time on a pre-sloped pan job, which brings the overall installed cost close to or below a traditional mud bed in many cases.
What size pre-sloped shower pan do I need?
Measure your shower footprint first, then match it to a pan size from the manufacturer’s lineup. Most brands offer several standard sizes between 32 by 32 inches and 48 by 72 inches, and pans can be trimmed slightly to fit if the exact size isn’t available.
