

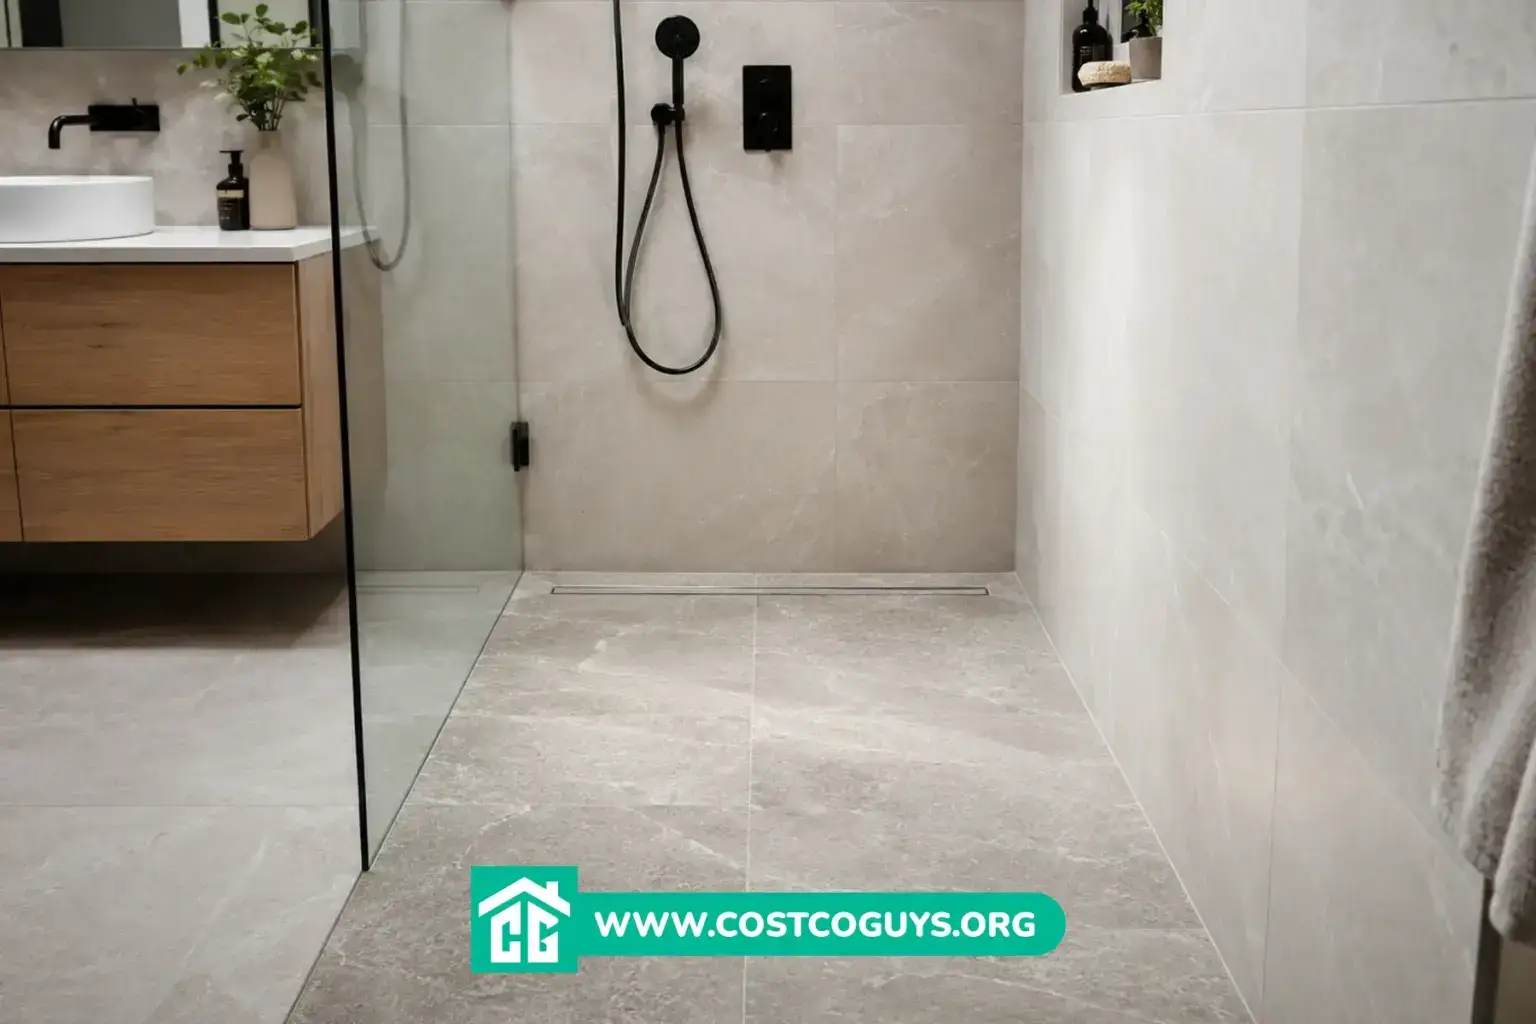

The correct slope for shower floors is 1/4 inch per foot toward the drain, the minimum set by plumbing codes like the IPC and IRC. That means about 1 inch of drop over a 4 foot run from wall to drain.
- What Slope Does a Shower Floor Actually Need
- Why Shower Floors Need a Slope in the First Place
- How to Calculate Slope for a Shower Pan
- Pre-Slope, Membrane, and Finished Mortar Bed Explained
- Cost to Get Shower Pan Slope Right in 2026
- Common Mistakes That Ruin Shower Floor Drainage
- When to Call a Tile Setter Instead of DIYing It
- Getting the Slope For Shower Floors Right the First Time
What Slope Does a Shower Floor Actually Need
Most U.S. plumbing codes, including the International Plumbing Code and the International Residential Code, set a minimum shower floor slope of 1/4 inch per foot toward the drain. That works out to a 2 percent gradient. The Uniform Plumbing Code uses the same number, so this isn’t a regional quirk. It’s the baseline nearly every inspector checks for.
Codes also cap how steep a shower floor can get, usually around 1/2 inch per foot. Go steeper than that and the floor starts to feel like a ramp instead of a shower pan. Curbless and ADA accessible showers follow a tighter rule: a maximum 1:48 slope, which is roughly 1/4 inch per foot in every direction. Local codes vary slightly, so check with your building department before you pour a mortar bed.
Why Shower Floors Need a Slope in the First Place
Water doesn’t move on a flat surface. It sits, and standing water on a shower floor turns into a problem fast. A well-designed shower relies on gravity, not luck, to carry every drop toward the drain.
Low spots trap water that never fully evaporates between showers. That trapped moisture soaks into grout lines, breeds mildew, and eventually works its way down into the mortar bed and subfloor underneath the tile. A musty odor coming from a shower drain is often the first sign of a slope that’s too flat, not a dirty drain.
The subfloor is the wood or concrete layer beneath your finished shower floor, and it’s not designed to handle constant moisture. Once water reaches it through a bad seal or weak slope, rot and mold can spread for months before anyone notices a soft spot underfoot.



How to Calculate Slope for a Shower Pan
Start by measuring the distance from the drain to the farthest point of the shower floor, in feet. Multiply that number by 0.25 to get the total drop in inches you need across the mortar bed.
Say your shower measures 4 feet from the back wall to a center drain. Multiply 4 by 0.25 and you get 1 inch of total drop. The floor at the wall sits 1 inch higher than the floor right at the drain, with an even slope in between.
Square Showers With a Center Drain
A center drain pulls water from all sides, so the mortar bed has to slope in all directions at once. Installers typically work in pie-shaped sections around the drain, tapering each one to the same low point. On a square shower, the corners sit farther from the drain than the walls do, which means the diagonal slope and the straight-on slope to each wall aren’t identical. A skilled installer accounts for that automatically. A rushed one leaves a lump near one corner that never quite drains.
Rectangular Showers and Linear Drains
A linear drain runs along one wall instead of sitting in the middle of the floor. That lets the entire floor slope in a single direction, toward the drain, instead of tapering from every wall. It’s a simpler geometry problem, which is part of why linear drains have gotten so popular in custom shower builds over the last few years.
Pre-Slope, Membrane, and Finished Mortar Bed Explained
A traditional tile shower floor is built in layers, and getting the slope right happens twice. The first layer, called the pre-slope, is a rough mortar bed packed directly onto the subfloor and sloped at 1/4 inch per foot toward the drain’s weep holes, the small openings that let any moisture trapped under the tile drain out over time.
A waterproof liner or membrane goes on top of the pre-slope. This is the layer that actually keeps water out of your subfloor if grout or tile ever cracks. Some installers use a sheet liner, others use a bonded membrane system like Schluter Kerdi, which pairs a waterproof fabric with thinset mortar instead of a loose sheet liner.
The finished mortar bed, sometimes called deck mud, goes on top of that membrane. It’s built to the exact same 1/4 inch per foot slope as the pre-slope underneath it. Tile and grout go directly on top of this final layer, which is why both layers matter equally. A perfect pre-slope under a flat finished bed still leaves water pooling on the surface you actually stand on.
Deck mud is a dry-pack mix of sand and Portland cement, mixed just wet enough to hold its shape without slumping. It’s not the same product as self-leveling compound, and that distinction matters. Self-leveling compound seeks a flat, level surface by design, which is the exact opposite of the pitched surface a shower pan needs.
Cost to Get Shower Pan Slope Right in 2026
Slope work is rarely priced as its own line item. It’s baked into the cost of the shower pan or mortar bed as a whole, so the numbers below reflect the full pan build, not just the sloping step.
| Approach | Typical Cost Range | What Affects the Price |
|---|---|---|
| DIY mortar pre-slope and mud bed | $150 to $500 in materials | Shower size, drain type, tile and membrane brand |
| Tile-ready foam pan with built-in slope | $300 to $900 installed | Pan size, brand, whether the drain lines up |
| Custom tile shower pan, professionally built | $900 to $3,500 installed | Labor rates, linear vs center drain, curbless design |
These ranges reflect an editorial estimate based on national remodeling cost data from 2025 and 2026, not an official rate schedule. Regional labor costs shift the final number in either direction, and this is the one place in this article where that caveat applies.
How This Estimate Was Reached
The methodology here weighs three factors: material cost for mortar, membrane, and drain hardware; typical labor hours for a tile setter to build and cure a mud bed, usually one to three days depending on cure time; and regional labor rate differences, which can swing a custom pan’s price by several hundred dollars between a rural market and a major metro area. A curbless or linear drain design adds time because the slope calculations and forming work take longer to get precise.
Common Mistakes That Ruin Shower Floor Drainage
The most common mistake is what tile setters call a false slope. The tile surface looks correctly pitched, but the waterproofing membrane underneath sits flat because the pre-slope was skipped or built wrong. Water gets trapped between the membrane and the tile with nowhere to go.
Another frequent error is using self-leveling compound to fix an uneven mortar bed. It flattens the surface instead of maintaining the pitch, which undoes the slope entirely. Fixing that requires removing material from the high spots or building up the low spots with more mortar, not pouring a leveling product over the problem.
Low spots away from the drain, sometimes called birdbaths, are the third common issue. Even with a correct overall slope toward the drain, a single dip near a corner or wall can hold a puddle for hours after every shower.
When to Call a Tile Setter Instead of DIYing It
A simple square shower with a center drain and a tile-ready foam pan is a reasonable DIY project for someone comfortable with basic tile work. The pan arrives pre-sloped, which removes most of the guesswork.
A custom mortar bed shower, a curbless design, or any project using a linear drain is where hiring a pro pays off. Getting the slope just right across compound angles takes practice most DIYers haven’t built up, and a failed waterproofing job means tearing out tile, mortar, and sometimes subfloor to fix it. That redo cost almost always exceeds what a tile setter would have charged the first time.
Getting the Slope For Shower Floors Right the First Time
The slope for shower floors comes down to one working number: 1/4 inch per foot toward the drain, built consistently through both the pre-slope and the finished mortar bed. Drain type, shower shape, and whether you’re going curbless all affect how complicated that slope is to execute, but the target pitch itself doesn’t change. Get the math right before the first bag of mortar gets mixed, and the rest of the shower build goes a lot smoother.
What happens if my shower floor slope is too flat?
Water pools in low spots instead of draining, which leads to mold, mildew, and a musty smell near the drain. Over time, standing water can soak into grout and the mortar bed underneath, causing tile to loosen or crack.
Can a shower floor have too much slope?
Yes. A pitch steeper than about 1/2 inch per foot can feel unstable underfoot and makes tile harder to set evenly. Most codes cap the maximum slope for this reason.
Do linear drains need a different slope than center drains?
The target pitch stays the same at 1/4 inch per foot, but a linear drain only needs the floor to slope in one direction. A center drain requires the floor to slope toward it from every side, which is a more complex layout.
Is self-leveling compound safe to use in a shower pan?
No. Self-leveling compound is designed to create a flat surface, which works against the pitch a shower floor needs. Fixing an uneven mortar bed calls for reshaping it with more dry-pack mortar, not a leveling product.
How do I check if my finished shower floor drains correctly?
Pour a bucket of water into the corners and along the walls, then watch where it goes. It should flow steadily toward the drain within a minute with no puddles left behind in any corner.
