
Shower pan slope needs to hit at least 1/4 inch per foot toward the drain, and that number comes straight from the Tile Council of North America (TCNA), the industry group that sets tile installation standards. Get the pitch wrong and water pools instead of draining, which leads to standing water, mildew, and eventually a leak behind the tile.
- What Shower Pan Slope Means for Your Bathroom
- Why a Shower Floor Needs Slope Toward the Drain
- The Standard Slope: 1/4 Inch Per Foot
- Center Drain vs Offset Drain Slope Layouts
- The Two-Layer System: Pre-Slope and Mortar Bed
- Step-by-Step: Building a Sloped Mortar Bed
- Set the drain height.
- Mix and pack the deck mud.
- Screed the surface.
- Shape the pitch in sections.
- Check for low spots.
- Let it cure.
- Quick Pitch and Pre-Sloped Foam Pan Kits
- Cost to Slope a Shower Pan in 2026
- How We Built These Cost Estimates
- Common Mistakes That Cause Standing Water
- Sloping a Curbless or Custom-Shaped Shower
- Mortar Bed vs Foam Pan: Which One to Choose
- When to Call a Professional Installer
- Getting Your Shower Pan Slope Right the First Time
- Shower Pan Slope Frequently Asked Questions
- What is the minimum slope for a shower pan?
- Can a shower pan slope be too steep?
- Do I need a pre-slope layer under the waterproof liner?
- How do I know if my existing shower pan has a slope problem?
- Is a pre-sloped foam pan as good as a mortar bed?
- Can I fix a poorly sloped shower pan without removing the tile?
What Shower Pan Slope Means for Your Bathroom
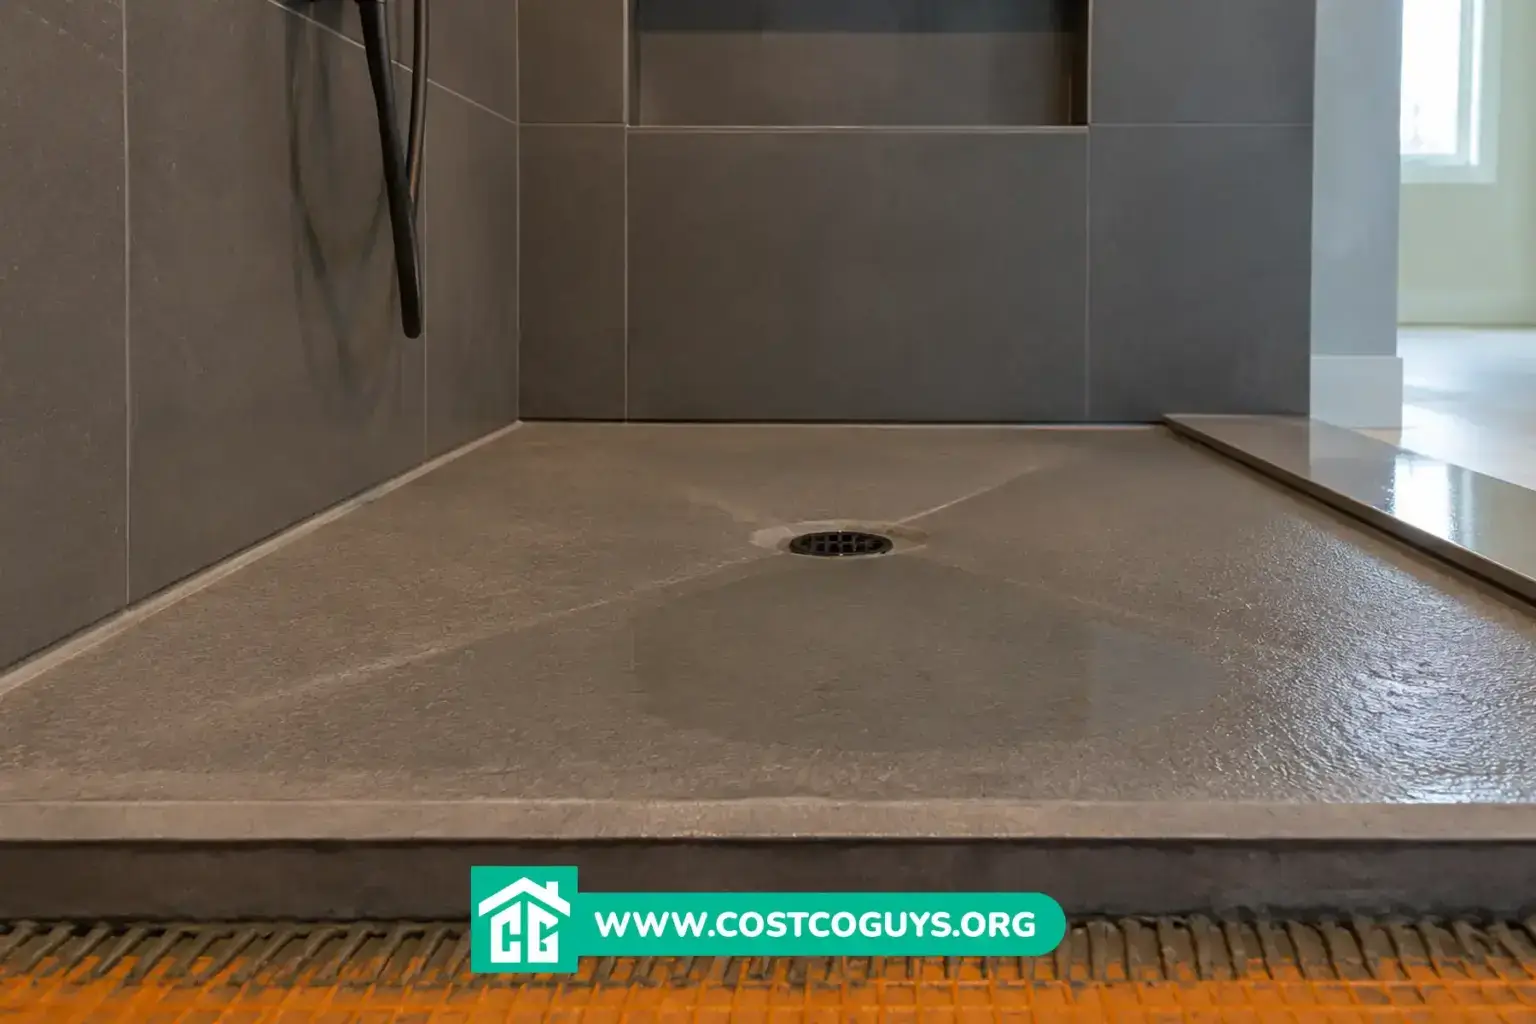
Shower pan slope is the gradual downward angle of the shower floor, built so gravity pulls water toward the drain instead of letting it sit. Without it, you get a flat shower floor that traps puddles around your feet, even when the drain works fine. The slope isn’t something you can eyeball; it has to be built into the mortar bed or pan structure before any tile goes down.
Most homeowners run into this topic when a shower floor develops standing water, when they’re planning a custom shower from scratch, or when a contractor mentions “pre-slope” during a remodel quote. All three situations come back to the same fix: a properly sloped shower base under the tile.
Why a Shower Floor Needs Slope Toward the Drain
Water doesn’t move on its own across a flat surface. It needs a pitch to travel, the same way a driveway or a roof needs one to shed rain instead of holding it. In a shower, that pitch has to funnel every drop toward the drain, from every direction, without leaving low spots anywhere in between.
Standing water in a shower isn’t just annoying. It breaks down grout faster, creates a musty smell over time, and can seep through hairline cracks into the subfloor, the structural layer of wood or concrete underneath your tile. A sloped shower floor keeps water moving before any of that has a chance to happen.
The Standard Slope: 1/4 Inch Per Foot
TCNA guidelines call for a minimum slope of 1/4 inch per foot toward the drain, and most tile installers treat that as the baseline for any tile shower. Go much steeper than 1/2 inch per foot and the floor starts to feel uneven underfoot, almost like standing on a ramp.


That 1/4 inch per foot figure applies at every point on the shower floor, not just near the drain. A spot three feet from the drain needs three-quarters of an inch of total drop compared to the wall. A spot five feet away needs one and a quarter inches. Installers calculate this distance by distance so there are no low spots or high spots anywhere on the pan.
Center Drain vs Offset Drain Slope Layouts
A center drain sits in the middle of the shower floor, which makes the slope math simple. The installer works in pie-shaped sections, sloping each wall’s mortar down toward that single center point at the same 1/4 inch per foot rate.
An offset drain sits closer to one wall than the others, which is common in rectangular showers or curbless designs. The slope from the far wall to the drain covers more distance, so it needs a longer, more gradual pitch, while the near wall needs a short, steep pitch to reach the same drain height. Linear drains, the long trough-style drains often used along one wall, only need slope in one direction instead of four, which actually simplifies this layout.
The Two-Layer System: Pre-Slope and Mortar Bed
A traditional tile shower uses two separate sloped layers, not one. The first is the pre-slope, a layer of mortar packed directly on the subfloor and sloped toward the drain before the waterproof liner goes in. Its job is to direct any water that eventually gets past the tile and grout down to the drain, using small openings called weep holes built into the drain assembly.
The second layer sits on top of the waterproof liner and is the one you actually see and walk on after tile installation. This top mortar bed, often called deck mud (a stiff sand and cement mix that holds its shape when packed), gets sloped the same way as the pre-slope, at 1/4 inch per foot toward the drain. Tile then goes directly over this top layer.
Step-by-Step: Building a Sloped Mortar Bed
A center drain mortar bed follows a fairly consistent process, whether a contractor or an experienced DIYer builds it.
Set the drain height.
The drain assembly’s center ring, the adjustable collar that sets the finished floor height, gets positioned first so every slope measurement has a fixed reference point.
Mix and pack the deck mud.
A dry-pack mortar of sand and Portland cement gets mixed to a consistency that holds together when squeezed, then packed in place by hand or with a trowel.
Screed the surface.
A screed is a straightedge, often a level or a notched guide, dragged across the wet mortar to establish a flat, even reference plane before shaping the slope.
Shape the pitch in sections.
The installer works in pie-shaped sections from each wall to the drain, using a level and a straightedge to check that each section drops 1/4 inch per foot.
Check for low spots.
A level placed across the surface reveals any dips that would trap water; those get filled in before the mortar sets.
Let it cure.
The mortar bed needs to cure, typically for at least 24 to 48 hours, before waterproofing or tile work continues.
Quick Pitch and Pre-Sloped Foam Pan Kits
A quick pitch shower system swaps out hand-packed deck mud for a pre-formed foam or PVC (a rigid plastic material) pan with the slope already built in. Systems like these use a center ring that locks into a drain base, paired with tapered float sticks, foam or plastic guides that snap into place and mark the correct slope for you as you pack material around them.
These kits cut down on guesswork for DIYers who don’t have experience packing a traditional mortar bed by feel. Some pre-sloped foam trays, like those from Wedi or similar waterproof panel systems, come fully finished at the correct 1/4 inch per foot pitch and just need trimming to fit the shower’s dimensions. Schluter’s Kerdi line takes a related approach, pairing a waterproof membrane with pre-sloped Kerdi-Shower trays instead of a mortar pre-slope.
Cost to Slope a Shower Pan in 2026
Sloping a shower pan yourself with a quick pitch kit typically runs $60 to $180 for materials alone, not counting tile, waterproofing membrane, or the drain assembly itself. Hiring a licensed installer to build and slope a traditional mortar bed shower pan typically costs $400 to $900 in labor, on top of $150 to $400 in mortar, drain, and liner materials.
| Item or Service | Typical Cost Range | What Affects the Price |
|---|---|---|
| DIY quick pitch slope kit | $60 to $180 | Brand, pan size, PVC vs foam construction |
| Pre-sloped foam or Kerdi tray | $150 to $500 | Custom sizing, curbless design, drain style |
| Professional mortar bed slope (labor) | $400 to $900 | Shower size, offset vs center drain, local labor rates |
| Full custom shower pan installation | $1,200 to $4,500 | Tile choice, linear drain, curbless framing, waterproofing method |
How We Built These Cost Estimates
These ranges come from a comparison of national remodeling cost data, manufacturer pricing for pre-sloped pan kits, and typical hourly rates reported by tile installers across different regions. Labor rates for skilled tile work vary by region, with coastal and metro markets often running higher than smaller markets, so treat this table as a starting point rather than a fixed quote.
Material costs also shift with drain style. A center drain shower pan generally costs less to slope than an offset or linear drain layout, since the mortar work and waterproofing take more precision around an offset assembly. This is editorial judgment based on available 2024-2026 pricing data, not an audited or guaranteed figure for any specific job.
Common Mistakes That Cause Standing Water
An improper slope is the single biggest reason shower floors develop standing water, and it almost always traces back to inconsistent measuring during the mortar bed stage. Skipping the screed step, or eyeballing the pitch instead of checking it with a level at multiple points, leaves low spots that don’t show up until the shower gets used.
Another frequent mistake happens around the drain itself. If the mortar doesn’t slope tightly enough in the final few inches around the drain flange, a shallow puddle forms right at the opening even though the rest of the floor drains fine. Surface tension, the slight pull that keeps water beaded up instead of flowing, makes this last stretch the hardest part to get right, which is why installers often work extra material in that zone by hand.
Sloping a Curbless or Custom-Shaped Shower
A curbless shower, one built flush with the bathroom floor with no raised threshold or shower door lip, makes slope planning harder because there’s nothing to contain water at the entrance. Installers usually slope the entire bathroom floor slightly toward the shower’s drain, not just the shower floor itself, so any water that escapes the wet area still finds its way back.
A custom shower with an unusual footprint, like a rectangular shower with an offset drain in one corner, needs more planning than a standard square or rectangular layout with a center drain. The installer has to calculate slope separately for each wall to the drain, since the distances aren’t equal, which is one reason offset and curbless work costs more in labor than a standard center drain shower pan.
Mortar Bed vs Foam Pan: Which One to Choose
A traditional mortar bed slope system gives an experienced installer full control over the shape and pitch, which matters most in custom or oddly shaped showers. It takes longer to build and needs curing time, but it handles curbless designs and offset drains well since every section gets shaped by hand.
A pre-sloped foam or Kerdi tray system installs faster and removes the guesswork of packing mortar to a precise pitch, which makes it a workable choice for DIYers tackling their first shower installation. It works best in standard rectangular or square showers with a center drain, since most pre-formed trays come in fixed shapes and sizes rather than custom dimensions.
When to Call a Professional Installer
Any shower that involves a curbless design, an offset drain, or a linear drain benefits from a professional installer, since the slope math gets more complicated and mistakes are expensive to fix once tile is set. A licensed plumber should also handle the drain assembly itself if it ties into existing plumbing that needs modification.
A straightforward center drain shower with a standard rectangular footprint is a reasonable DIY project for a handyman comfortable working with mortar and a level. Always check local codes before starting, since some municipalities require a licensed installer or inspection for shower waterproofing work.
Getting Your Shower Pan Slope Right the First Time
A correctly sloped shower pan comes down to one number: 1/4 inch per foot toward the drain, checked consistently across every section of the floor. Whether you build a traditional mortar bed, use a quick pitch kit, or install a pre-sloped Kerdi tray, that pitch is what keeps water moving instead of pooling around your feet.
Center drain layouts stay simpler to slope than offset or curbless designs, and that difference shows up directly in labor cost. Get the pre-slope, the weep holes, and the top mortar bed all aligned to the same pitch, and the rest of the shower installation, tile, grout, and glass door, sits on a solid, properly draining foundation.
Shower Pan Slope Frequently Asked Questions
What is the minimum slope for a shower pan?
The minimum shower pan slope is 1/4 inch per foot toward the drain, based on TCNA installation guidelines. Going below that pitch leaves water sitting on the floor instead of draining properly.
Can a shower pan slope be too steep?
Yes, most installers avoid going much past 1/2 inch per foot since it starts to feel unstable to stand on. A steeper pitch can also make tile installation harder, since tiles want to slide before the thinset sets.
Do I need a pre-slope layer under the waterproof liner?
Yes, for a traditional mortar bed shower, the pre-slope directs any water that seeps past the tile down to the weep holes in the drain assembly. Skipping this layer lets trapped water sit against the subfloor instead of escaping into the drain.
How do I know if my existing shower pan has a slope problem?
Standing water that lingers for more than a minute or two after you turn off the shower usually points to a low spot or improper slope. A level placed across the shower floor in a few directions can confirm whether the pitch is consistent.
Is a pre-sloped foam pan as good as a mortar bed?
For a standard center drain shower, a pre-sloped foam or Kerdi tray performs just as well as a hand-built mortar bed. Custom or curbless showers usually still call for a traditional mortar bed since the shape can’t be adjusted on a pre-formed tray.
Can I fix a poorly sloped shower pan without removing the tile?
No, fixing the slope requires removing the tile and the top mortar layer since the pitch is built into that structural layer, not the surface. There’s no reliable way to add slope from above without rebuilding the floor underneath.