
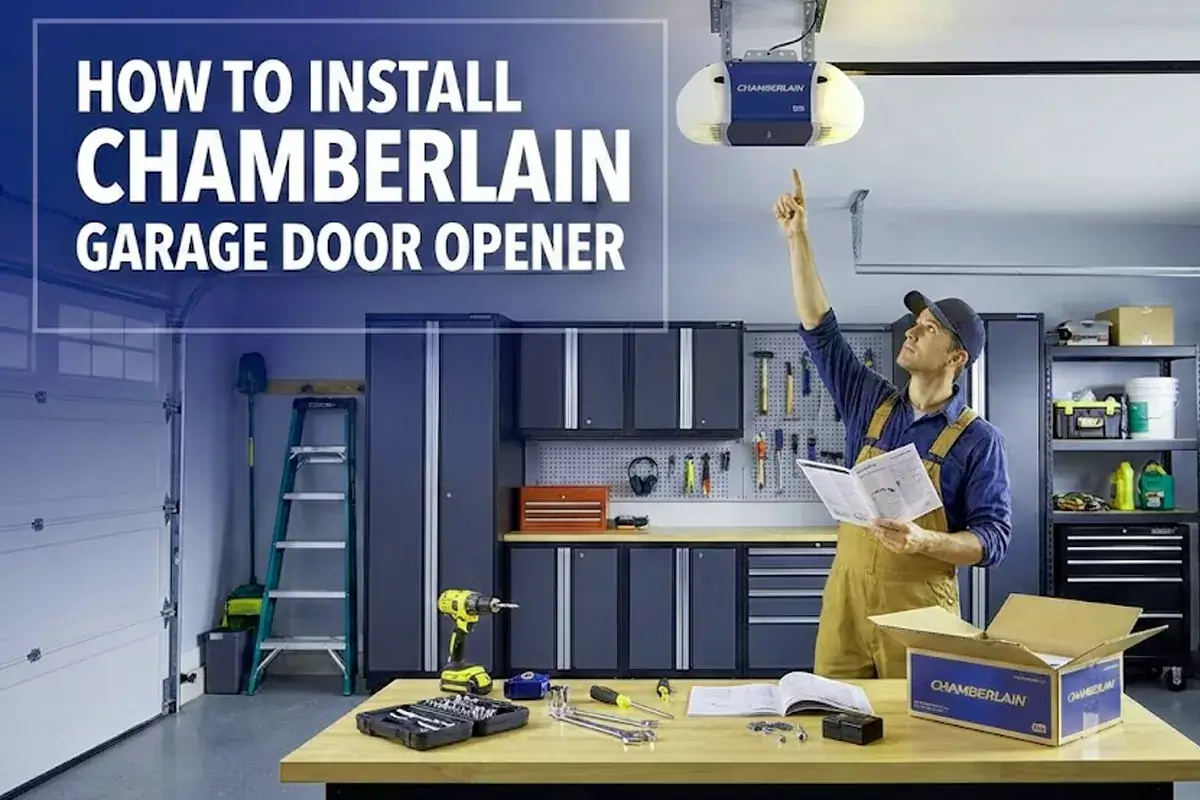
Installing a Chamberlain garage door opener takes about two hours if you’re comfortable with basic tools. You’ll mount the motor unit to your ceiling, attach the rail to your door, wire the controls, and set up safety sensors. The process needs common tools like a drill, wrench, and screwdriver. Most homeowners can handle this garage door operator installation without professional help if they follow the steps carefully and test everything before regular use.
- Pre-Installation Checklist – What to Check Before You Begin
- Assemble and Mount the Opener: Rail, Motor Unit, Header Bracket
- Wiring, Door Arm, and Safety Sensors Installation
- Program Remote, myQ Wi-Fi, and Initial Setup
- Test, Adjust, and Safety Check – Auto-Reverse & Sensor Test
- Troubleshooting Common Issues After Installation
- Maintenance and Periodic Safety Checks
This guide walks you through the complete installation from start to finish. You’ll learn how to prepare your garage, assemble the parts, mount everything safely, and set up smart features. We’ll also cover common problems and how to fix them so your automatic garage door system works smoothly for years.
Pre-Installation Checklist – What to Check Before You Begin
Check your garage door’s condition and make sure it’s balanced correctly before you start. A door that sticks or binds won’t work well with an opener and could be dangerous.
Lift your door halfway and let go. If it stays in place, your springs are balanced. If it drops or shoots up, call a door technician to fix the springs first. Remove any ropes connected to the garage door and disable all locks to prevent entanglement during the opener setup. Look at your ceiling where the opener will hang and make sure the structure is strong enough to hold the weight. You’ll need a solid wood beam or concrete ceiling for the ceiling-mounted drive system. Find the nearest electrical outlet and confirm it’s a grounded 120V outlet. Gather your tools now so you don’t need to stop mid-project. You’ll need a hammer, screwdriver set, adjustable wrench, power drill with bits, tape measure, wire strippers, step ladder, and a 2×4 board.
Assemble and Mount the Opener: Rail, Motor Unit, Header Bracket
Start by assembling the rail sections on a flat surface. Align the rail sections and slide the tapered ends into the larger ones with the rail tab on top. This creates the track your door will follow when it opens and closes.
Place the motor unit on packing material to protect the cover and rest the back end of the rail on top. Attach the rail to the motor unit using the provided hardware. Don’t run the opener yet. Next, attach the header bracket to the wall above your garage door. This bracket connects the rail to your door frame and serves as the anchor point for the entire rail assembly. Use lag screws for wood or concrete anchors for masonry. The bracket must be centered over the door and mounted to solid structural material, not just drywall. Position the opener on a temporary support like a stepladder. Place a 2×4 laid flat on top of the door section to set the proper distance between the rail and door. Connect the rail bracket to the header bracket with a clevis pin. Now mount the opener to the ceiling using the hanging brackets and lag screws. Make sure it’s level and secure before removing the temporary support. This overhead door operator positioning is critical for smooth operation.


Wiring, Door Arm, and Safety Sensors Installation
Connect the door arm (also called the trolley arm) between the trolley on the rail and the bracket you’ll mount to your door. This arm pulls the door open and closed. Install it according to your door type-sectional doors and one-piece doors need different setups.
Strip 7/16 inch of insulation from one end of the wire and separate the wires. Connect one wire to each screw on the back of the door control. Mount the door control on the wall at least 5 feet high where children can’t reach it and where you can see the door clearly. Run the wires from the control to the opener motor unit. Now install the safety reversing sensors (also called photoelectric sensors) on both sides of the door about 6 inches from the ground. These sensors send an invisible beam across the doorway and act as a safety mechanism to prevent injuries. Mount them facing each other directly. Connect the wires to the motor unit—white wires to white terminals, colored wires to their matching terminals. The sending sensor shows an amber light when working. The receiving sensor shows a green light when aligned properly. This sensor alignment is a non-negotiable safety requirement.
Program Remote, myQ Wi-Fi, and Initial Setup
The garage door opener must run through a complete cycle before it will activate Wi-Fi programming. Plug the opener into the grounded outlet and let it go through its first cycle. This sets the basic travel limits for the door’s motion.
To program your remote control, press the learn button on the motor unit. It will blink or light up. Within 30 seconds, press the button on your remote that you want to use. The opener light will flash to confirm. Test the remote by pressing the button. For myQ app setup and smart home integration, download the free myQ app from your app store. Make sure you’re connected to your 2.4 GHz network, not the 5 GHz network if your router offers both. In the app, create an account and select “Add New Device.” The app will tell you the next steps for putting your specific unit into WiFi learning mode. You’ll press a button on your wall control or motor unit until you hear a beep. Go to your phone’s WiFi settings and connect to the network that starts with “myQ-XXX.” Return to the app and select your home WiFi network from the list. Enter your password. The opener will connect and you can name it whatever you want. This wireless connectivity feature lets you monitor your garage from anywhere.
Test, Adjust, and Safety Check – Auto-Reverse & Sensor Test
Door must reverse on contact with a 1.5 inch high object on the floor. This is the most important safety test you’ll do and a critical part of the safety compliance process.
Place a 2×4 board laid flat on the floor in the door’s path. Close the door using your remote or wall control. When the door touches the board, it should immediately reverse and go back up. If it doesn’t reverse, adjust the force settings on your motor unit according to your manual. Test the safety reversal after this adjustment until the door reverses every time. Wave your hand through the sensor beam while the door is closing. The door should stop and reverse immediately. If the sensors aren’t working, check that both lights are solid (not blinking). If the sending sensor is glowing steadily and the receiving sensor is off or flickering, it’s typically a misaligned or obstructed sensor. Adjust the force and travel limit settings if needed. The door should open and close completely without stopping too soon or slamming at the end. These adjustments ensure optimal door operation performance.
Troubleshooting Common Issues After Installation
Sensor Problems and Safety Reversal Failures
When your garage door doesn’t close and the opener lights flash 10 times, there are a few simple steps to help you figure out the issue. This usually means a sensor problem and is one of the most common malfunction indicators.
Check for dirt or spider webs on the sensor lenses. Wipe the lenses gently with a cloth to clean them. Make sure nothing is blocking the beam between the sensors. Look for loose wiring at the sensors and at the motor unit terminals. Loosen the wing nut on the green LED receiving sensor and adjust it until the green LED glows steady, then tighten the wing nut. Do the same for the amber sending sensor if needed. If both lights are solid but the door still won’t close, check that the sensor brackets are level with each other—one sensor even half an inch lower than the other can cause problems. Use a laser level or string level to check. If you’re using new sensors with an old opener or vice versa, they might not be compatible. Always use the sensors that came with your opener for proper component compatibility.
Remote and WiFi Setup Problems
If your remote doesn’t work, replace the batteries first. If that doesn’t help, reprogram the remote by pressing the learn button on the motor unit and then the remote button within 30 seconds. This remote pairing process is straightforward but time-sensitive.
For WiFi connection issues, make sure your router is within good range of the opener. The myQ system won’t work on 5 GHz frequency bands. If the myQ app can’t find your opener during setup, try the manual connection method. Press the WiFi button on your opener until it’s solid blue, then find the gateway IP address in your phone’s WiFi settings. Enter that IP address in your phone’s browser to access the setup page directly. Select your home WiFi network and enter the password there. If you changed routers, you’ll need to reset the WiFi settings and set up the connection again from scratch. Understanding your network configuration helps resolve these connectivity problems faster.
Maintenance and Periodic Safety Checks
Test the auto-reverse feature monthly by placing a 2×4 on the floor and closing the door over it. The door should reverse immediately. If it doesn’t, adjust the force settings and test again.
Check sensor alignment every few months and clean the sensor lenses to keep them working properly. Apply white lithium grease to the rail and moving parts every six months as part of your preventive maintenance routine. Listen for unusual noises while the door operates—grinding or squeaking means parts need attention. Tighten all hardware including the mounting bolts, rail connections, and sensor brackets. Vibration can loosen these over time. If the battery status LED shows solid red, the battery needs to be replaced. Replace backup batteries according to your manual’s schedule, usually every few years. Inspect the door itself for balance issues at least once a year. An unbalanced door puts extra strain on your opener and shortens its operational lifespan.
Consider the differences between chain drive systems that use a metal chain to move the door and belt drive systems that use a reinforced rubber belt when planning maintenance. Chain drives may require more frequent lubrication than belt drives. Both types function as reliable automatic door mechanisms, but each has distinct maintenance needs.